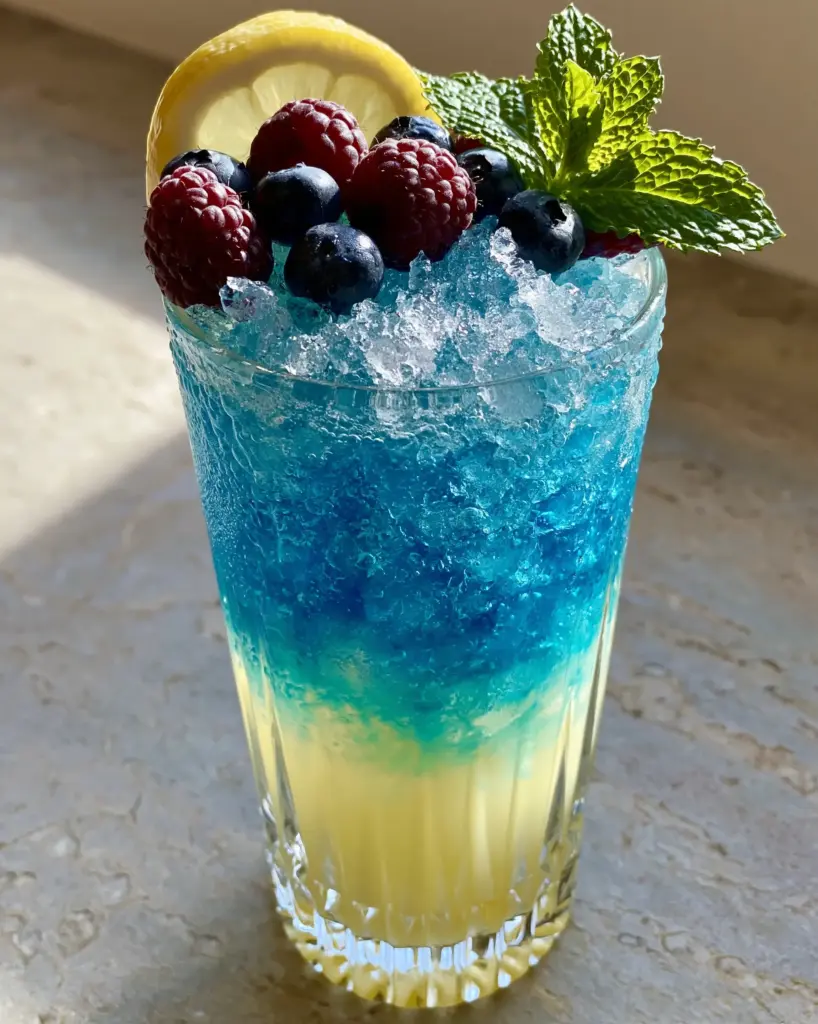
There is nothing quite like the first sip of an ice-cold, tart beverage on a sweltering July afternoon. This blue raspberry lemonade isn’t just a drink; it is a sensory experience that captures the essence of summer in a tall, elegant ribbed crystal glass. From the vibrant, electric-blue hues to the glistening condensation droplets on the glass, every element is designed to refresh and delight.
Most commercial blue drinks rely on artificial dyes and processed syrups that leave a sugary film on the palate. Our version elevates the classic roadside stand favorite by using natural blue spirulina and fresh-pressed citrus. The result is a layered masterpiece that transitions from a pale yellow lemon base to a brilliant blue top, making it the ultimate centerpiece for your next gathering.
Whether you are hosting a sophisticated garden party or just looking for a way to cool down, this recipe delivers professional-level results with accessible ingredients. We have meticulously crafted this guide to ensure your layers stay crisp, your berries stay plump, and your flavor remains perfectly balanced between puckering tartness and mellow sweetness.
Why This Naturally Vibrant Sipper Stands Out
- Stunning Visual Ombre: The scientific density layering creates a professional “sunset” effect that looks incredible in handheld smartphone photos.
- Clean Ingredients: We swap out Blue 1 Lake for natural spirulina, providing a vivid color without the chemical aftertaste.
- Texture Contrast: The combination of crunchy crushed ice and soft, plump blueberries and raspberries provides a delightful mouthfeel.
- Sophisticated Flavor Profile: Real blue raspberries (Rubus leucodermis) and fresh mint offer a depth of flavor that bottled concentrates simply cannot match.
The Vibrantly Blue Ingredients You’ll Need
To achieve the specific visual and flavor profile of this blue raspberry lemonade, selecting the right ingredients is paramount. We are focusing on freshness and natural pigments to create that “electric” look without the artificial additives.
Freshly Squeezed Lemon Juice: You will need about 1 cup (240ml) of juice, which typically requires 4-6 large lemons. Fresh juice provides the essential enzymatic brightness and pale yellow base color seen in our visual blueprint.
Natural Blue Spirulina Powder: This is the secret to the “naturally electric-blue” liquid. Just a 1/2 tsp (1g) of this algae-derived powder provides an intense pigment that is both healthy and visually striking.
Plump Fresh Blue Raspberries: Use 1/2 cup (65g) of these rare gems. If you cannot find Rubus leucodermis locally, high-quality black raspberries provide a similar deep, moody tone that complements the blue theme.
Fresh Blueberries: You will need 1/4 cup (37g) of firm, ripe blueberries. These add a spherical visual interest to the top of the ice and a secondary burst of berry sweetness.
Superfine Sugar or Simple Syrup: 3/4 cup (150g) of sugar dissolved into water. The sugar content is vital for creating the density required to keep the yellow lemon layer at the bottom.
Crushed Clear Ice: Clear ice melts slower and reflects light more beautifully. You will need enough to fill your glasses to the brim, creating those iconic glistening droplets on the exterior.
Fresh Mint Sprigs & Lemon Wheels: These are the finishing touches. A vibrant green mint sprig provides a color contrast that makes the blue pop, while a thin lemon wheel tucked inside the glass adds structural elegance.
Essential Tools for the Professional Mixologist
Achieving the layered look of this blue raspberry lemonade requires more than just a spoon. You will need a high-quality citrus press to extract the maximum amount of juice without the bitter pith oils. A long-handled bar spoon is also necessary for the “gentle pour” technique used to create the ombre effect.
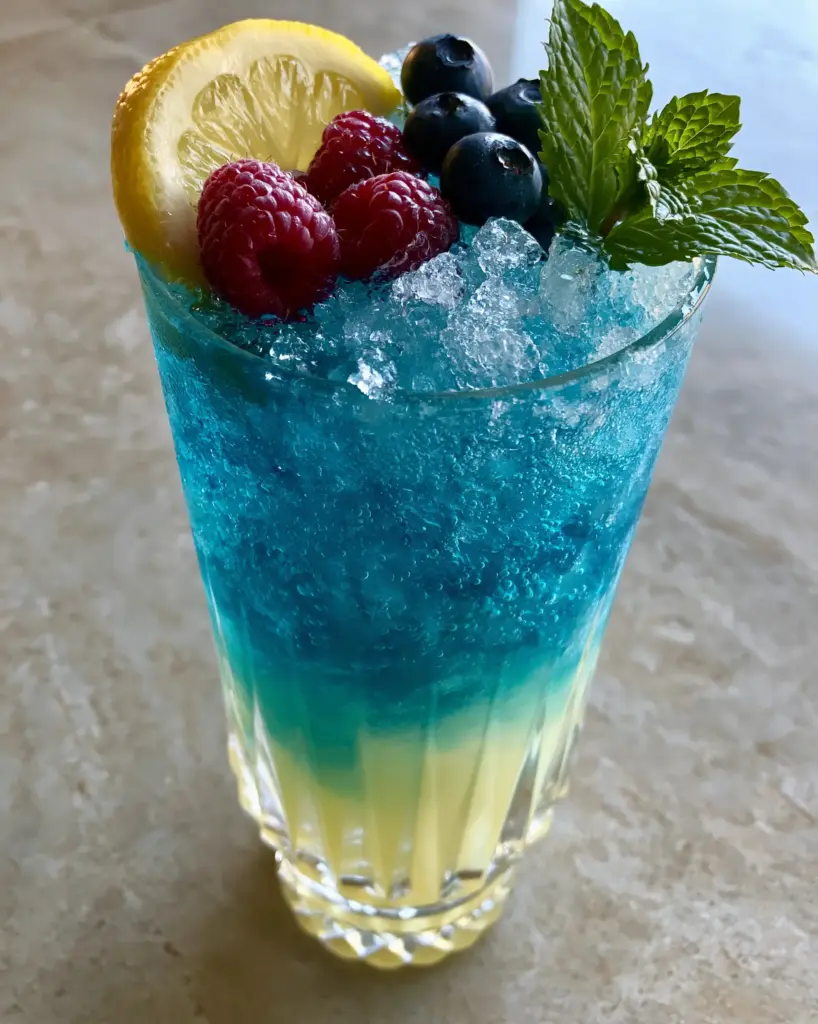
To match our visual prompt, serve this in a tall, ribbed crystal glass. The ridges in the glass catch the light, emphasizing the transition between the yellow and blue layers. Finally, a high-speed blender or a dedicated ice crusher is needed to get that perfect “snow-like” texture for the ice.
Mastering the Art of the Perfect Ombre Layering
Step 1: Extracting the Citrus Gold
Begin by rolling your room-temperature lemons on the countertop with firm pressure. This breaks the internal membranes, allowing for easier juicing. Squeeze the lemons until you have 1 cup (240ml) of juice, then strain through a fine-mesh sieve to remove all pulp and seeds, ensuring the bottom layer remains translucent and pale yellow.
Step 2: Crafting the Density Syrup
In a small saucepan, combine 3/4 cup (150g) of sugar with 3/4 cup (180ml) of water. Heat over medium heat, stirring constantly, until the sugar is completely dissolved. Remove from heat and stir in the fresh lemon juice. This creates a dense, heavy lemon base that will sit firmly at the bottom of the glass.
Step 3: Activating the Electric Blue
In a separate small pitcher, whisk 1/2 tsp (1g) of blue spirulina powder into 1 cup (240ml) of cold filtered water. Stir vigorously until no clumps remain. The liquid should be a brilliant, saturated blue. This layer is less dense than the lemon syrup, which is the key to the layering physics.
Step 4: The Precision Assembly
Fill your tall ribbed glass to the very top with crushed clear ice. Pour the lemon syrup mixture into the bottom third of the glass. It should settle into a beautiful pale yellow foundation. Now, take your bar spoon and hold it just above the ice. Slowly pour the blue spirulina water over the back of the spoon. Watch as it sits atop the yellow, creating a stunning natural gradient.
Step 5: Finishing with Forensic Detail
Tuck a thin lemon wheel down the side of the glass, pressing it against the ribbed crystal. Top the ice with a handful of plump blue raspberries and blueberries. Finish by slapping a fresh mint sprig against your hand to release the oils, then nestle it into the ice. Within minutes, you will see the condensation droplets begin to form, signaling the drink is perfectly chilled.
Expert Tips for Success
- The Temperature Trick: Ensure your lemon base is slightly chilled and your blue water is ice-cold before pouring. Temperature differences help prevent the layers from mixing too quickly.
- Slap Your Mint: Never just drop mint into a drink. Giving it a firm “slap” between your palms awakens the aromatics, providing that fresh summer scent as you take a sip.
- Siphon the Sweetness: If you find the drink too tart, use a straw to sip from the bottom where the syrup is concentrated, or give it a very gentle stir after showing it off to your guests.
- Avoid Clumping: Blue spirulina is very fine. To avoid blue “specks,” premix the powder with a teaspoon of warm water to create a paste before adding the rest of the cold water.
Pairing Your Blue Raspberry Lemonade with Summer Treats
This vibrant beverage is the perfect companion for a variety of seasonal dishes. If you are planning a full spread, consider the colorful aesthetics of a dragon fruit lemonade to serve alongside it for a pink-and-blue theme. For something more substantial, the tartness of the lemon cuts beautifully through the richness of peach cobbler cinnamon rolls.
If you are looking for 4th of July party ideas, this drink is a natural fit for patriotic celebrations. It also pairs wonderfully with light, summery snacks like homemade rice krispie treats or even a decadent strawberry rhubarb pie during a backyard barbecue.
Storage and Make-Ahead Advice
While this blue raspberry lemonade is best enjoyed immediately to appreciate the layers and the crunch of the ice, you can prep the components in advance. The lemon syrup can be stored in an airtight jar in the refrigerator for up to 5 days. The blue spirulina water should be used within 24 hours for the most vibrant color.
Do not assemble the drink until you are ready to serve. Once the ice is added, the dilution process begins, and the distinct layers will eventually merge into a solid teal color. If you have leftovers, they can be frozen into “lemonade popsicles” for a refreshing treat later in the week.
Frequently Asked Questions
While fresh berries provide the best visual ‘plumpness’ for the garnish, frozen berries can be used. Just be aware they may bleed color into the ice as they thaw.
It is similar but more sophisticated. It has the tart berry and lemon profile but lacks the chemical, artificial sweetness of commercial candies, offering a cleaner finish.
The secret is density. By mixing the lemon juice with sugar to create a heavy syrup for the bottom layer and using plain water for the blue spirulina top layer, the different weights keep them separated.
No. Blue spirulina is an extract containing only the phycocyanin pigment. Green spirulina contains the whole algae and has a much stronger ‘earthy’ taste and a dark green color.
We use natural blue spirulina powder, a nutrient-dense algae that provides a vivid electric-blue pigment without the need for artificial food dyes like Blue 1.
The Ultimate Naturally Blue Raspberry Lemonade Recipe
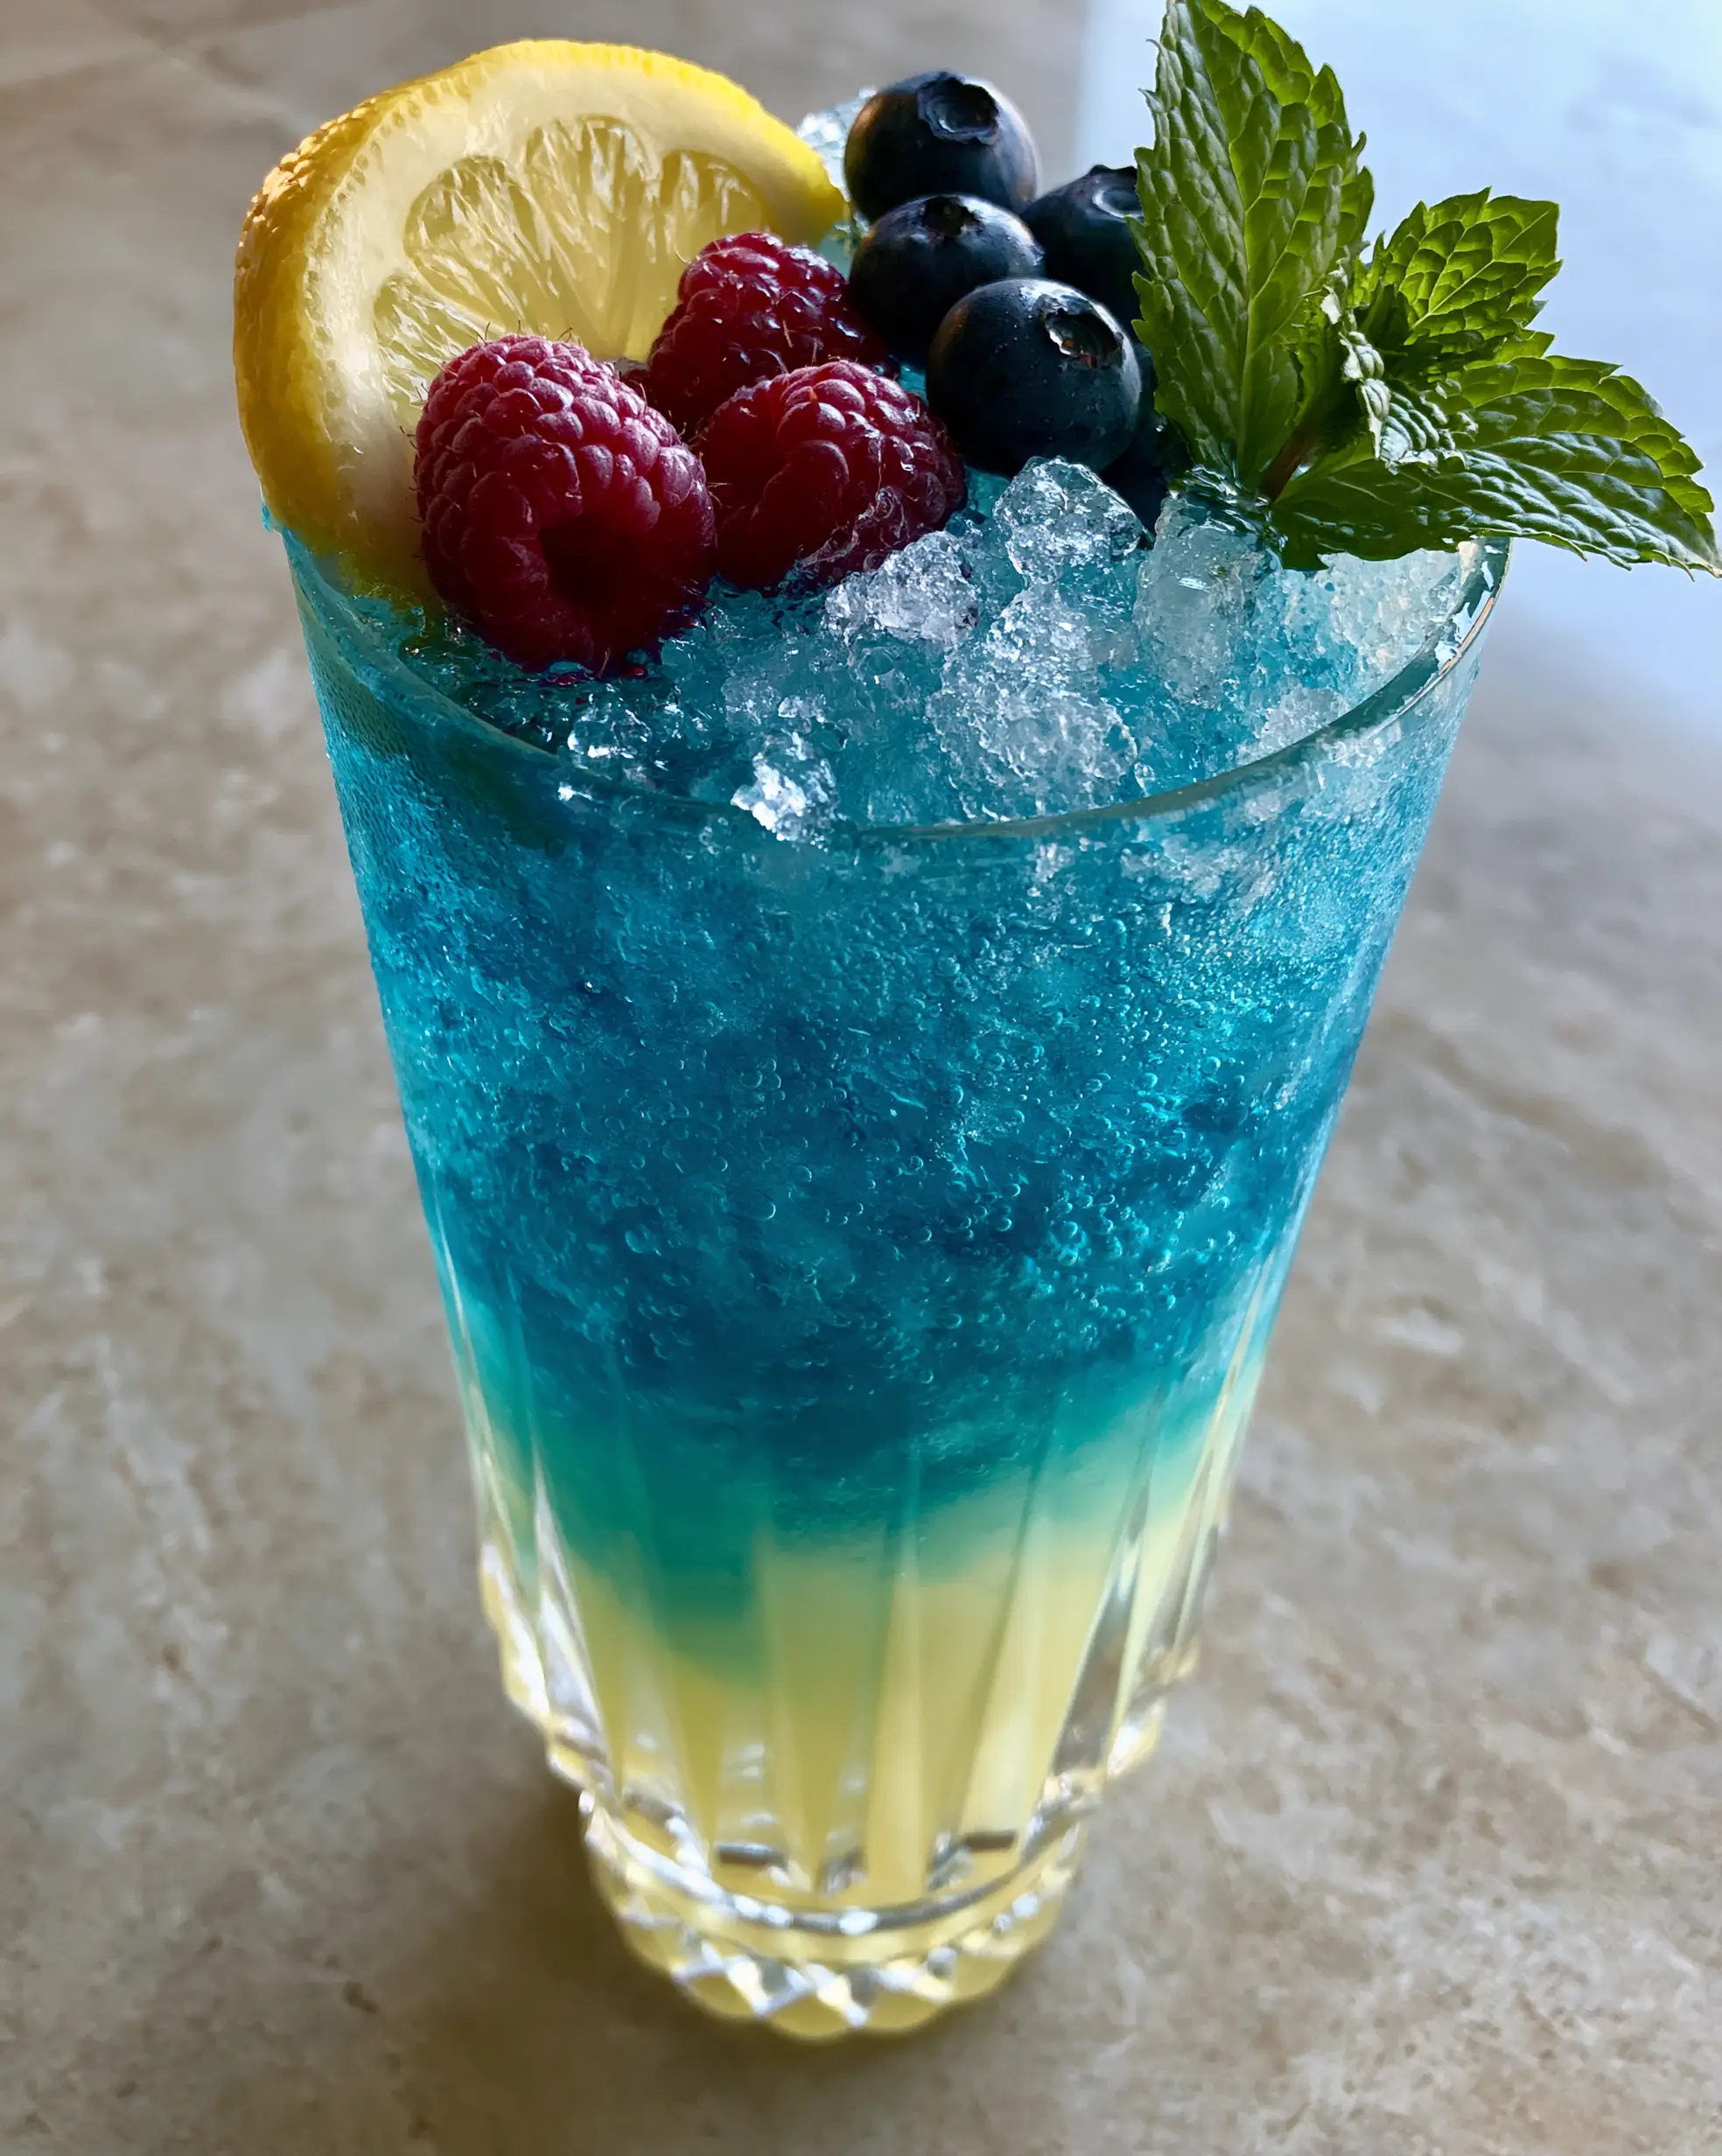
Blue Raspberry Lemonade: A Naturally Electric Summer Refreshment
Ingredients
Equipment
Method
- Combine sugar and 3/4 cup water in a pan over medium heat until dissolved. Stir in the fresh lemon juice and let cool completely.
- Whisk the blue spirulina powder into 1 cup of cold water until vibrant blue and free of clumps.
- Fill tall ribbed glasses to the top with crushed ice. Pour the lemon syrup mixture into the bottom third of each glass.
- Slowly pour the blue spirulina liquid over the back of a bar spoon onto the ice to create a layered ombre effect.
- Tuck a lemon wheel into the glass, top with blue raspberries and blueberries, and finish with a slapped mint sprig.
Notes
Slap the mint between your palms to release aromatics before garnishing.
Closing & Call to Action
Creating this blue raspberry lemonade is a rewarding way to bring a touch of culinary magic to your kitchen. The combination of scientific layering and fresh, natural ingredients results in a drink that tastes as good as it looks. We hope this becomes a staple in your rotation of refreshing summer drinks.
If you enjoyed this recipe, please leave a comment below and let us know how your layers turned out! Don’t forget to snap a photo and tag us on social media. For more visual inspiration and recipe cards, follow us at Pinterest and pin this recipe to your “Summer Refreshments” board!
—


