There is a specific moment when autumn truly begins, and it usually involves the warm aroma of cinnamon and the creamy decadence of a perfectly set cheesecake. These Pumpkin cheesecake balls capture that seasonal magic in a single, bite-sized confection. If you have been searching for a dessert that balances a vibrant, velvety center with a golden, crunchy exterior, you have arrived at the right place.
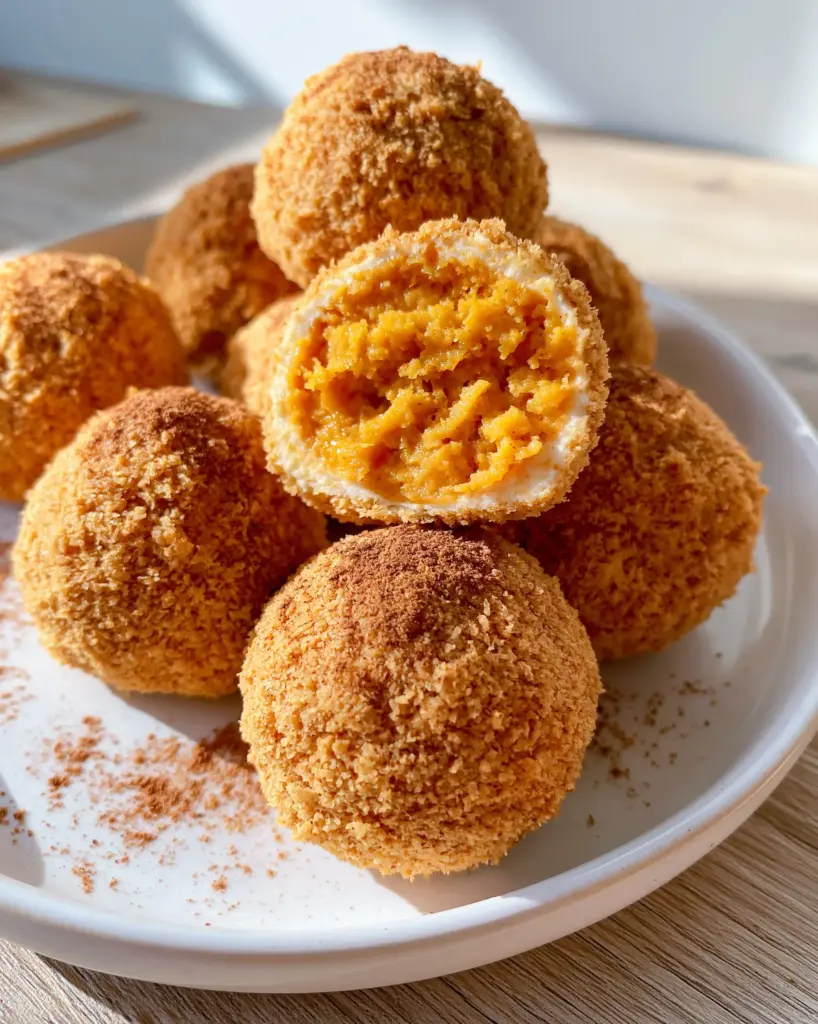
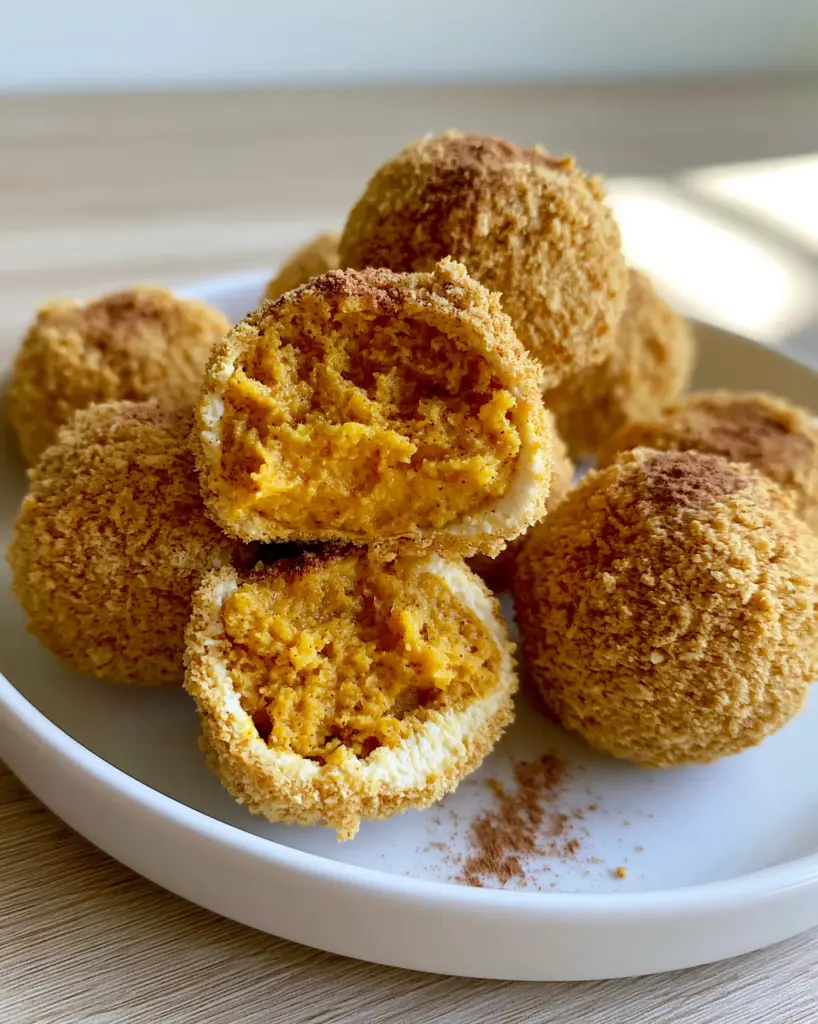
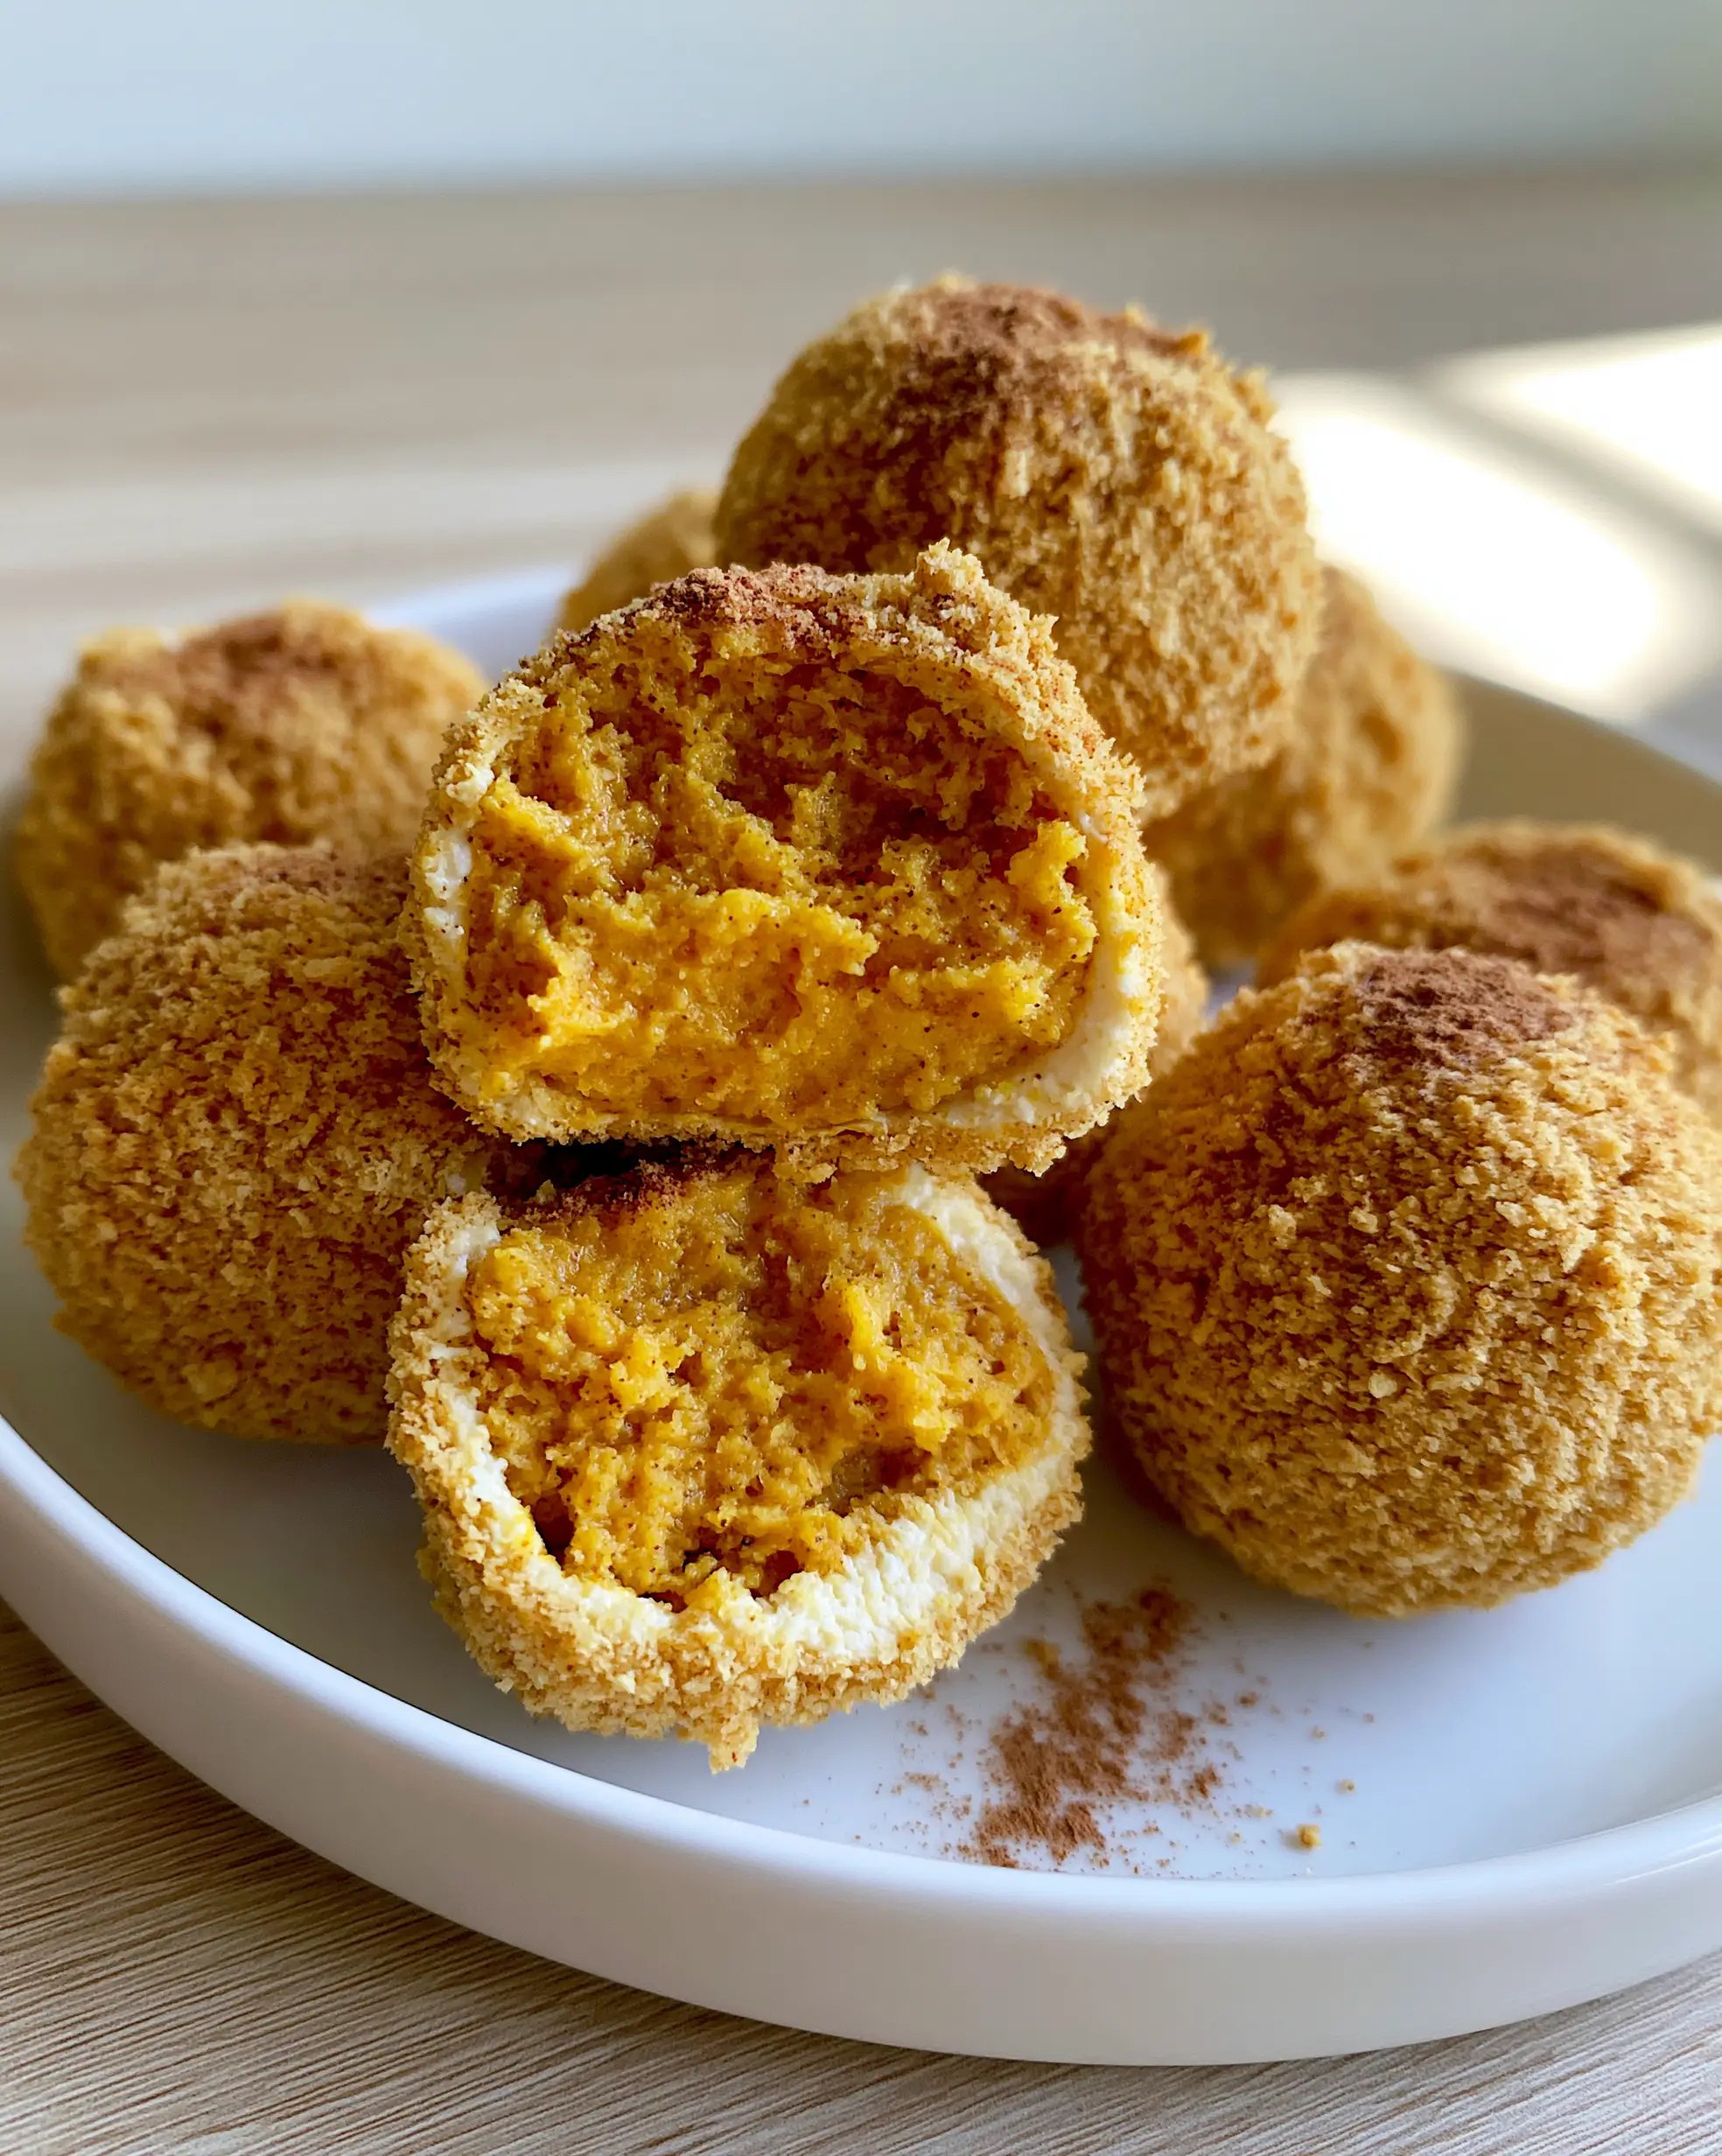
Visually, these truffles are a showstopper. Imagine a modern white ceramic plate, catching the soft glow of natural daylight, piled high with golden-brown spheres. When you bite into one, or slice it down the middle, you reveal a dense, smooth, and shockingly bright-orange center. It is a striking contrast that looks just as professional as a high-end bakery offering, yet it requires zero time in the oven.
In this guide, we will explore the culinary science behind achieving that perfect “fudgy” texture without the need for baking. We will also master the technique of creating a “sand-fine” graham cracker coating that stays crisp, ensuring every mouthful is a multi-sensory experience of spice, sugar, and cream.
Why These Pumpkin Truffles Are the Perfect Autumn Treat
- Vibrant Visual Contrast: The bright orange pumpkin filling against the golden graham cracker crust provides a stunning “surprise” center that looks incredible on holiday dessert platters.
- No-Bake Simplicity: Achieve the sophisticated flavor of a New York-style cheesecake without the risk of water baths or surface cracks.
- Dense, Silky Texture: By utilizing specific moisture-reduction techniques, we ensure the filling is smooth and “sliceable” rather than runny or soft.
- Perfectly Portioned: These are ideal for fall gatherings where guests want a rich treat without the commitment of a full slice of cake.
The Secret Ingredients for a Silky Smooth Filling
To achieve the result seen in our visual blueprint, we must select ingredients that offer both structural integrity and high-impact flavor. Not all pumpkin purées or cream cheeses are created equal when it comes to no-bake applications.
Full-Fat Cream Cheese: 8 oz (225g) softened. This is the structural backbone of your Pumpkin cheesecake balls; the high fat content ensures the balls firm up properly in the refrigerator.
Pumpkin Purée: 1/3 cup (80ml). Use 100% pure pumpkin, not pumpkin pie filling, to maintain control over the sweetness and spice levels; we will blot this to remove excess water.
Powdered Sugar: 2 cups (240g). Also known as confectioners’ sugar, this provides sweetness and acts as a stabilizing agent to help the truffles hold their round shape.
Graham Cracker Crumbs: 2 cups (approx. 170g) finely crushed. You will use these both in the filling for stability and as the primary coating for that signature golden-brown exterior.
Ground Cinnamon & Pumpkin Pie Spice: 1 tsp (5g) each. These provide the aromatic warmth that defines the autumn season and adds a beautiful dusting to the final presentation.
Pure Vanilla Extract: 1 tsp (5ml). This “invisible” ingredient bridges the gap between the tang of the cream cheese and the earthiness of the pumpkin.
Salt: 1/4 tsp (1.5g). A pinch of fine sea salt is essential to cut through the sugar and enhance the complex notes of the pumpkin.
Essential Tools for Perfect Cheesecake Bites
To recreate the precise, round aesthetic of the modern white plate presentation, a few simple tools will elevate your results from “homemade” to “professional.” Accuracy in sizing and texture is key here.
A Small Cookie Scoop (1-tablespoon capacity) is non-negotiable for ensuring every truffle is uniform in size, which looks much cleaner on the serving plate. You will also need a Food Processor to achieve those “finely textured” graham cracker crumbs mentioned in the visual prompt; manual crushing rarely achieves the necessary uniformity.
Finally, ensure you have Paper Towels for blotting the pumpkin and a Large Baking Sheet lined with parchment paper. This prevents the truffles from sticking while they undergo their initial set in the freezer.
Mastering the Art of the Pumpkin Cheesecake Center
Step 1: Moisture Control and Pumpkin Prep
The biggest mistake in making Pumpkin cheesecake balls is adding too much moisture. Spread your 1/3 cup (80ml) of pumpkin purée onto a layer of double-folded paper towels.
Press another paper towel on top to soak up the excess liquid. You want the pumpkin to look concentrated and thick; this ensures the center of your truffle is dense and smooth, exactly like the sliced version in our visual prompt.
Step 2: Creaming the Base
In a large mixing bowl, beat the softened cream cheese until it is completely smooth and free of lumps. This should take about 2-3 minutes of high-speed mixing.
Add the blotted pumpkin purée, vanilla, pumpkin pie spice, and salt. Continue mixing until the color is a uniform, vibrant orange with no white streaks remaining.
Step 3: Building Structure
Gradually add the powdered sugar one cup at a time, mixing on low speed to avoid a “sugar cloud.” Once incorporated, fold in 1/2 cup (40g) of the finely crushed graham cracker crumbs.
The mixture will be soft at this stage. Cover the bowl and chill in the refrigerator for at least 1 hour; this allows the crumbs to hydrate and the fats to solidify, making the “rolling” process possible.
Professional Techniques for a Flawless Graham Cracker Crust
Step 4: Scooping and Shaping
Using your cookie scoop, portion out the chilled filling onto your lined baking sheet. Once you have a tray of portions, roll them between your palms to form perfect, smooth spheres.
If the filling starts to stick to your hands, lightly dust your palms with a bit of powdered sugar. Place the rolled balls in the freezer for 15 minutes to “flash-set” before coating.
Step 5: The Double-Coat Method
Place your remaining finely crushed graham cracker crumbs in a shallow bowl and mix in 1/2 tsp of ground cinnamon. Roll each chilled truffle in the crumbs, pressing gently so they adhere firmly.
For that extra-textured look seen in the smartphone photo, give them a second roll in the crumbs after 5 minutes. This ensures a thick, golden-brown coating that provides a satisfying crunch against the creamy interior.
Step 6: The Finishing Dust
Once all truffles are coated, place them on your white ceramic serving plate. Take a small sieve and lightly sprinkle extra ground cinnamon over the tops for a refined, professional finish.
Pro Tips for High-Definition Dessert Textures
- The “Slice” Secret: To get that clean, sharp cut shown in the visual prompt, use a hot, dry knife. Dip a sharp blade in boiling water, wipe it dry, and slice through the truffle in one swift motion.
- Crumbs Matter: Ensure your graham crackers are processed into a fine sand. Large chunks will cause the coating to fall off and ruin the “modern” aesthetic.
- Room Temp vs. Cold: Always start with room-temperature cream cheese to avoid lumps, but always serve the Pumpkin cheesecake balls chilled to maintain their structural integrity.
- Spice Customization: If you prefer a “spicier” profile, increase the ginger and clove content in your pumpkin pie spice mix.
How to Keep Your Pumpkin Bites Fresh for Days
These truffles are an excellent “make-ahead” dessert. Store them in an airtight container in the refrigerator for up to 5 days. The graham cracker crust will soften slightly over time as it absorbs moisture from the cheesecake center, but the flavor will actually deepen.
If you need to store them longer, these Pumpkin cheesecake balls freeze beautifully. Place them in a single layer on a tray until frozen solid, then transfer to a freezer bag for up to 2 months. Thaw in the fridge for 2 hours before serving.
Perfect Pairings and Holiday Serving Ideas
These truffles are quite rich, so they pair best with beverages that offer a bit of acidity or bitterness. Serve them alongside a hot cup of coffee or even one of our cozy spiced rum cocktails for a sophisticated adult dessert pairing.
If you are building a larger dessert table, these complement other seasonal treats like cinnamon-spiced brunch favorites or even a tray of elevated rice krispie treats. They also make a fantastic alternative to traditional other popular cake pop flavors for autumn birthdays.
For a truly decadent spread, consider serving these alongside a no-bake chocolate peanut butter dessert to give guests a variety of textures and flavor profiles.
Common Questions About No-Bake Pumpkin Treats
Absolutely! Gingersnap crumbs provide a spicier, darker coating that pairs beautifully with the pumpkin cheesecake center.
No, pumpkin pie filling contains added sugars and liquids that will make the filling too runny. Stick to 100% pure pumpkin purée for the best structural results.
Yes, because they contain cream cheese, they must be refrigerated. They are best served cold to maintain their dense, fudgy texture.
The double-coat method is key. Roll the balls once, let them sit for a few minutes to absorb the surface moisture, and then roll them again in fresh crumbs before serving.
This is usually caused by excess moisture in the pumpkin purée. Ensure you blot the pumpkin thoroughly with paper towels before mixing. If the dough is still soft, chill it in the freezer for an extra 20 minutes.
The Official Pumpkin Cheesecake Balls Recipe
Pumpkin cheesecake balls: The Ultimate No-Bake Autumn Truffle Recipe
Ingredients
Equipment
Method
- Spread pumpkin purée on paper towels and press to remove excess moisture until thick.
- Beat softened cream cheese until smooth, then mix in blotted pumpkin, vanilla, spices, and salt.
- Gradually beat in powdered sugar, then fold in 1/2 cup graham cracker crumbs. Chill for 1 hour.
- Scoop 1-tablespoon portions and roll into smooth spheres. Freeze for 15 minutes to firm up.
- Roll each ball in the remaining graham cracker crumbs mixed with cinnamon, pressing to adhere.
- Dust with additional ground cinnamon and serve chilled on a modern ceramic plate.
Notes
Use a hot knife for clean slices to show off the bright orange filling.
Closing & Call to Action
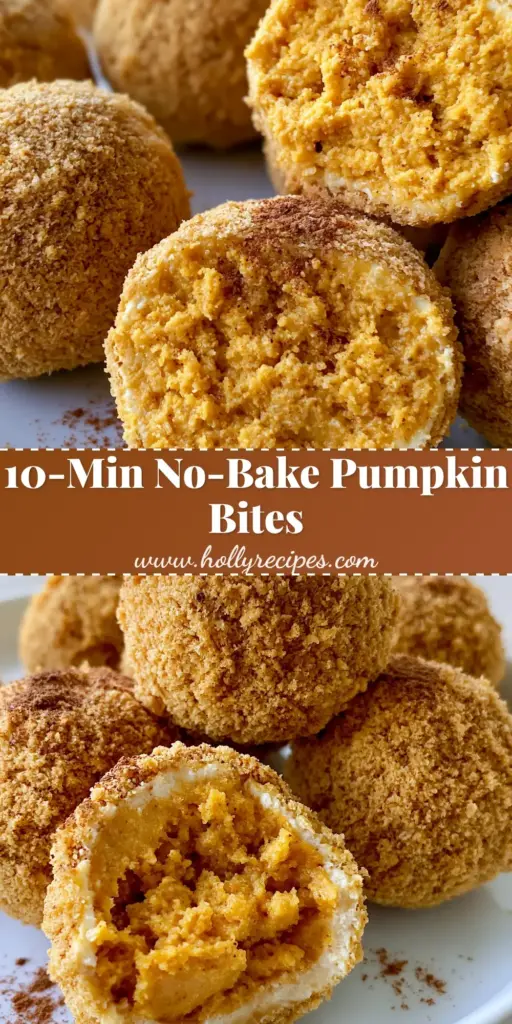
These Pumpkin cheesecake balls are more than just a dessert; they are a celebration of everything we love about fall—creamy textures, warm spices, and the joy of sharing something beautiful with friends and family. Whether you are hosting a formal dinner or just want a sweet treat to keep in the fridge, these truffles are guaranteed to satisfy.
Did you make these? I would love to see your “slice” shot! Tag me on social media or leave a comment below with your favorite way to serve these. Don’t forget to save this recipe to your autumn boards on Pinterest so you can find it every year!