There is a profound difference between a standard cereal bar and a truly gourmet rice krispie treats recipe. If you have ever pulled apart a treat only to find it stiff or dry, you know the heartbreak of a poorly executed classic. This version changes everything, delivering a handheld experience that is thick, decadent, and visually stunning.
Imagine a thick, gourmet square that yields to the slightest pull, revealing an incredibly stretchy, gooey white marshmallow core. The cereal base isn’t just sweet; it is infused with the nutty, toasted aroma of dark brown butter specks and features distinct golden-brown edges that provide a subtle, caramelized crunch. This is the recipe that turns a childhood staple into a sophisticated dessert.
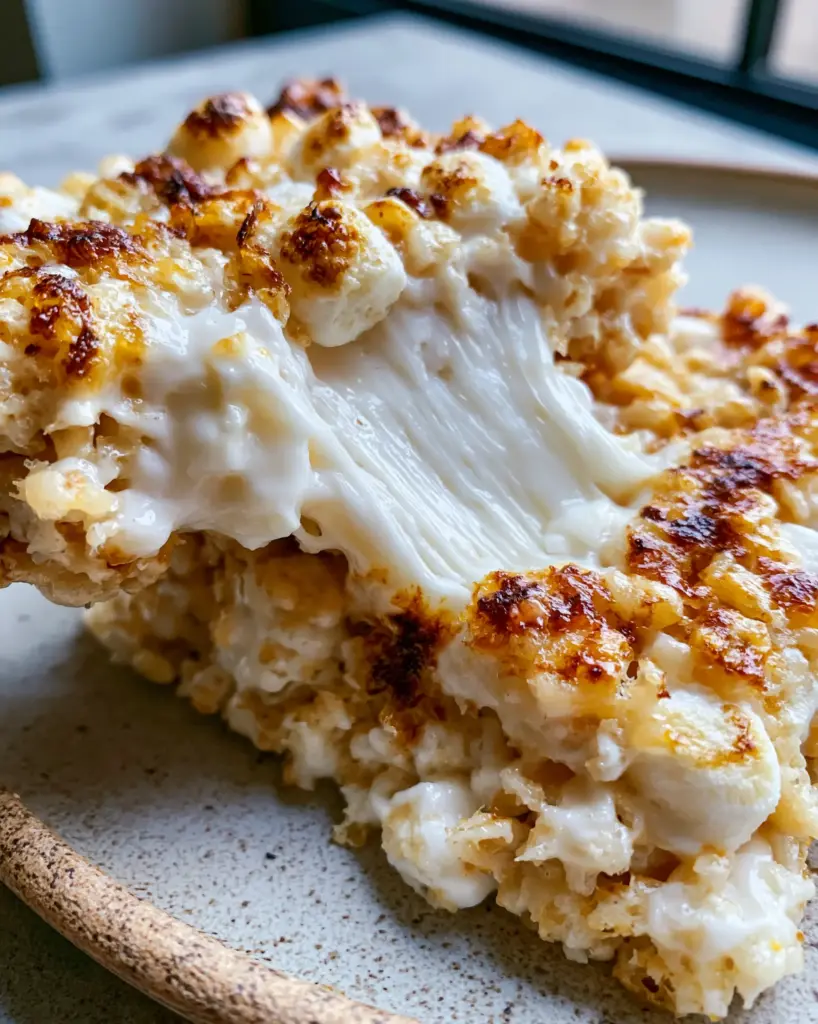
Why This Is the Only Cereal Bar Recipe You Will Ever Need
- The Beurre Noisette Factor: We don’t just melt the butter; we toast it until dark brown specks form, adding a savory depth that balances the sugar.
- Dual-Texture Marshmallow Logic: By melting most of the marshmallows and folding in the rest at the end, we create that iconic stretchy, gooey core seen in professional bakery photos.
- Visual Depth: The inclusion of toasted cereal elements ensures those beautiful golden-brown edges that make the treats look as good as they taste.
- Structural Integrity: These bars are thick-cut and substantial, designed to hold their shape while remaining pillowy soft.
The Essential Pantry Staples for Gourmet Rice Krispie Treats
To achieve the specific visual and textural results of this rice krispie treats recipe, each ingredient must serve a culinary purpose. Do not skip the quality of your butter or the freshness of your marshmallows.
Crisped Rice Cereal: 6 cups (160g) of fresh, oven-toasted rice cereal provides the essential structural foundation and that signature snap. Ensure the cereal is fresh; stale cereal will result in a chewy, unpleasant texture.
Unsalted Butter: 3/4 cup (170g) of high-quality butter is the key to creating the “beurre noisette” or brown butter specks. Using unsalted butter allows us to control the seasoning perfectly, which is vital when pairing with sweet marshmallows.
Premium Mini Marshmallows: 20 oz (566g) total, divided into two portions. We use the first portion for the melted base and the second to create the “gooey white marshmallow core” that remains visible and stretchy after setting.
Pure Vanilla Extract: 1 tbsp (15ml) of vanilla acts as a floral bridge between the nutty butter and the sugary cereal. It adds an invisible layer of sophistication that distinguishes this from store-bought versions.
Fine Sea Salt: 1/2 tsp (3g) of sea salt is non-negotiable for balancing the sweetness. Salt enhances the toasted notes of the brown butter and makes the marshmallow flavor pop.
Professional Tools for the Perfect Set
Achieving a thick, gourmet height requires the right equipment. Using a pan that is too large will result in thin, sad squares that lack the “wow” factor of a handheld smartphone photo.
- 8×8 inch (20x20cm) Square Baking Pan: This specific size ensures the treats are at least 2 inches thick.
- Parchment Paper: Essential for lifting the entire block out of the pan for clean, sharp cuts.
- Heavy-Bottomed Pot or Dutch Oven: A light-colored interior is best so you can visually monitor the butter as it browns.
- Silicone Spatula: To handle the “incredibly stretchy” marshmallow mixture without it sticking to your tools.
The Step-by-Step Evolution of the Perfect Treat
Phase 1: Toasting the Butter to Perfection
In a large, light-colored pot, melt the 3/4 cup (170g) of butter over medium heat. As the water evaporates, the butter will begin to foam and crackle. Watch closely for the visual cues: the foam will subside, and you will see dark brown butter specks beginning to form at the bottom.
Swirl the pan constantly until the butter smells intensely nutty and reaches a deep amber color. This is the “Maillard reaction” in action, providing the golden-brown edges and flavor depth required for this rice krispie treats recipe. Immediately reduce heat to the lowest setting.
Phase 2: Creating the Melted Marshmallow Foundation
Add 15 oz (425g) of the mini marshmallows to the browned butter, along with the sea salt. Stir constantly with your silicone spatula. The goal is to melt them until they are just smooth, without overcooking the gelatin, which can lead to hard treats.
Once smooth, remove the pot from the heat and stir in the 1 tbsp (15ml) of vanilla extract. The mixture should look glossy and be flecked with those beautiful toasted brown butter specks.
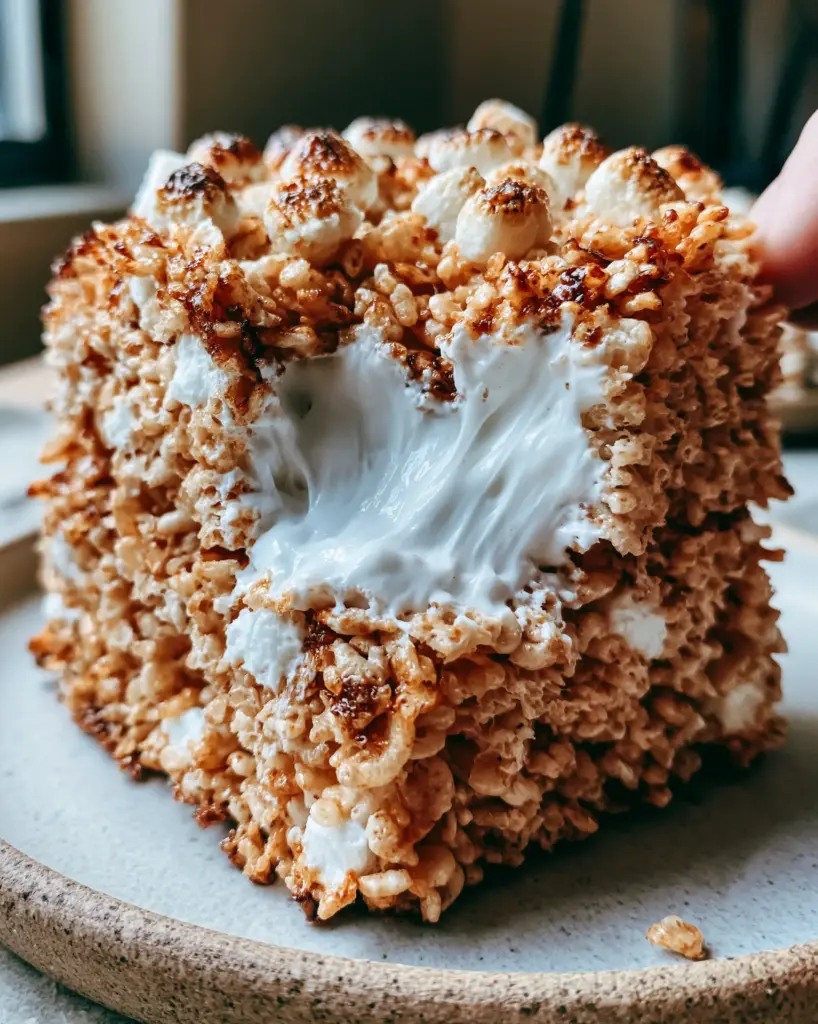
Phase 3: The Fold and the “Gooey Core” Secret
Gently fold in the 6 cups (160g) of crisped rice cereal. Use a folding motion rather than a stirring motion to avoid crushing the cereal air pockets. This keeps the treats light and airy.
When the cereal is about 80% coated, add the remaining 5 oz (141g) of mini marshmallows. These will not melt completely; instead, they will soften and create the “incredibly stretchy, gooey white marshmallow core” that characterizes a truly gourmet treat. If you enjoy these textures, you might also love the gooeyness of my s'mores hacks or the richness of brown butter espresso brownies.
Phase 4: The Gentle Press
Transfer the mixture into your prepared 8×8 inch (20x20cm) pan lined with parchment paper. Here is the professional secret: do NOT pack the treats down firmly. Use a buttered spatula or damp fingers to lightly pat the mixture into the corners.
Packing the treats tightly will result in a dense, hard bar. A light touch ensures that when you pull them apart, the marshmallows stretch effortlessly. Let the treats sit at room temperature for at least 30-60 minutes to set before slicing.
Expert Tips for Bakery-Style Success
- Don’t Overheat: High heat is the enemy of a soft marshmallow. Always melt on low to keep the gelatin structures flexible and stretchy.
- Freshness Matters: Marshmallows start to lose their moisture the moment the bag is opened. For the best “gooey core,” use a brand-new bag of marshmallows.
- Salt is Key: If you find these too sweet, increase the sea salt slightly. The salt highlights the toasted notes of the cereal.
- Wet Your Hands: If the mixture is sticking to you while pressing it into the pan, lightly dampen your hands with water or a bit of butter.
Creative Pairings and Serving Suggestions
While these treats are a standalone masterpiece, they fit perfectly into a dessert spread. If you are planning a celebration, consider these as part of your 4th-of-july party ideas. They provide a wonderful textural contrast when served alongside a fruity strawberry rhubarb pie or even drizzled with a homemade strawberry sauce recipe.
For those who love a “no-bake” lifestyle, these treats are the gold standard, much like my favorite no-bake chocolate peanut butter dessert. The combination of salt, fat, and sugar makes them universally appealing to all ages.
Common Questions About Cereal Bars
Yes, you can freeze them for up to 6 weeks. Wrap them individually in plastic wrap and store in a freezer bag. Thaw at room temperature for 15 minutes before eating to restore the stretch.
Yes, you can use large marshmallows for the melting phase (use 15 oz by weight), but mini marshmallows are superior for folding in at the end to create that specific ‘gooey core’ visual.
While not strictly required, brown butter (beurre noisette) provides the dark specks and nutty flavor that distinguishes a gourmet treat from a standard one. It balances the sweetness of the marshmallows perfectly.
Stored in an airtight container at room temperature, these treats stay perfectly soft and stretchy for 2-3 days. Avoid refrigerating them, as the cold will make them hard.
Hard treats are usually caused by high heat during the marshmallow melting process, which destroys the gelatin’s elasticity, or by packing the mixture too firmly into the baking pan.
The Master Rice Krispie Treats Recipe Card
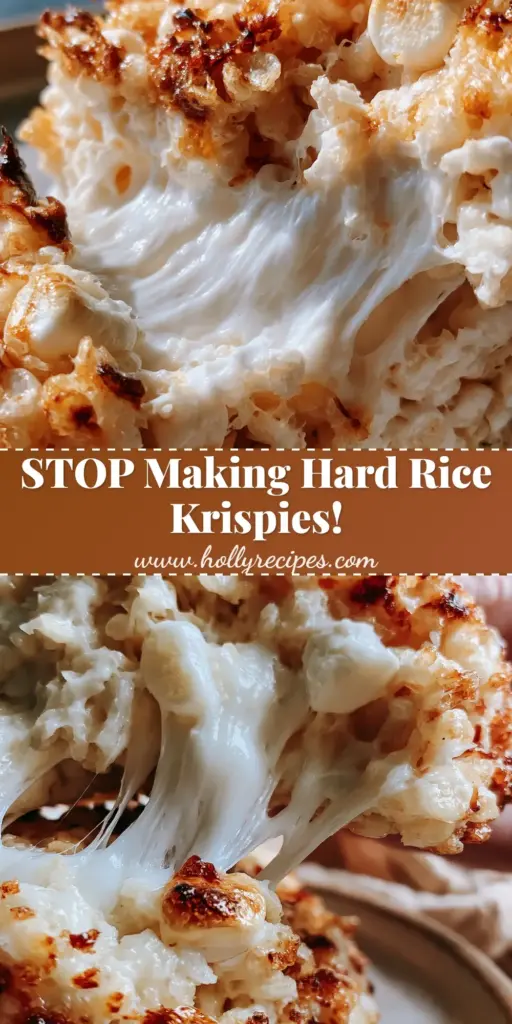
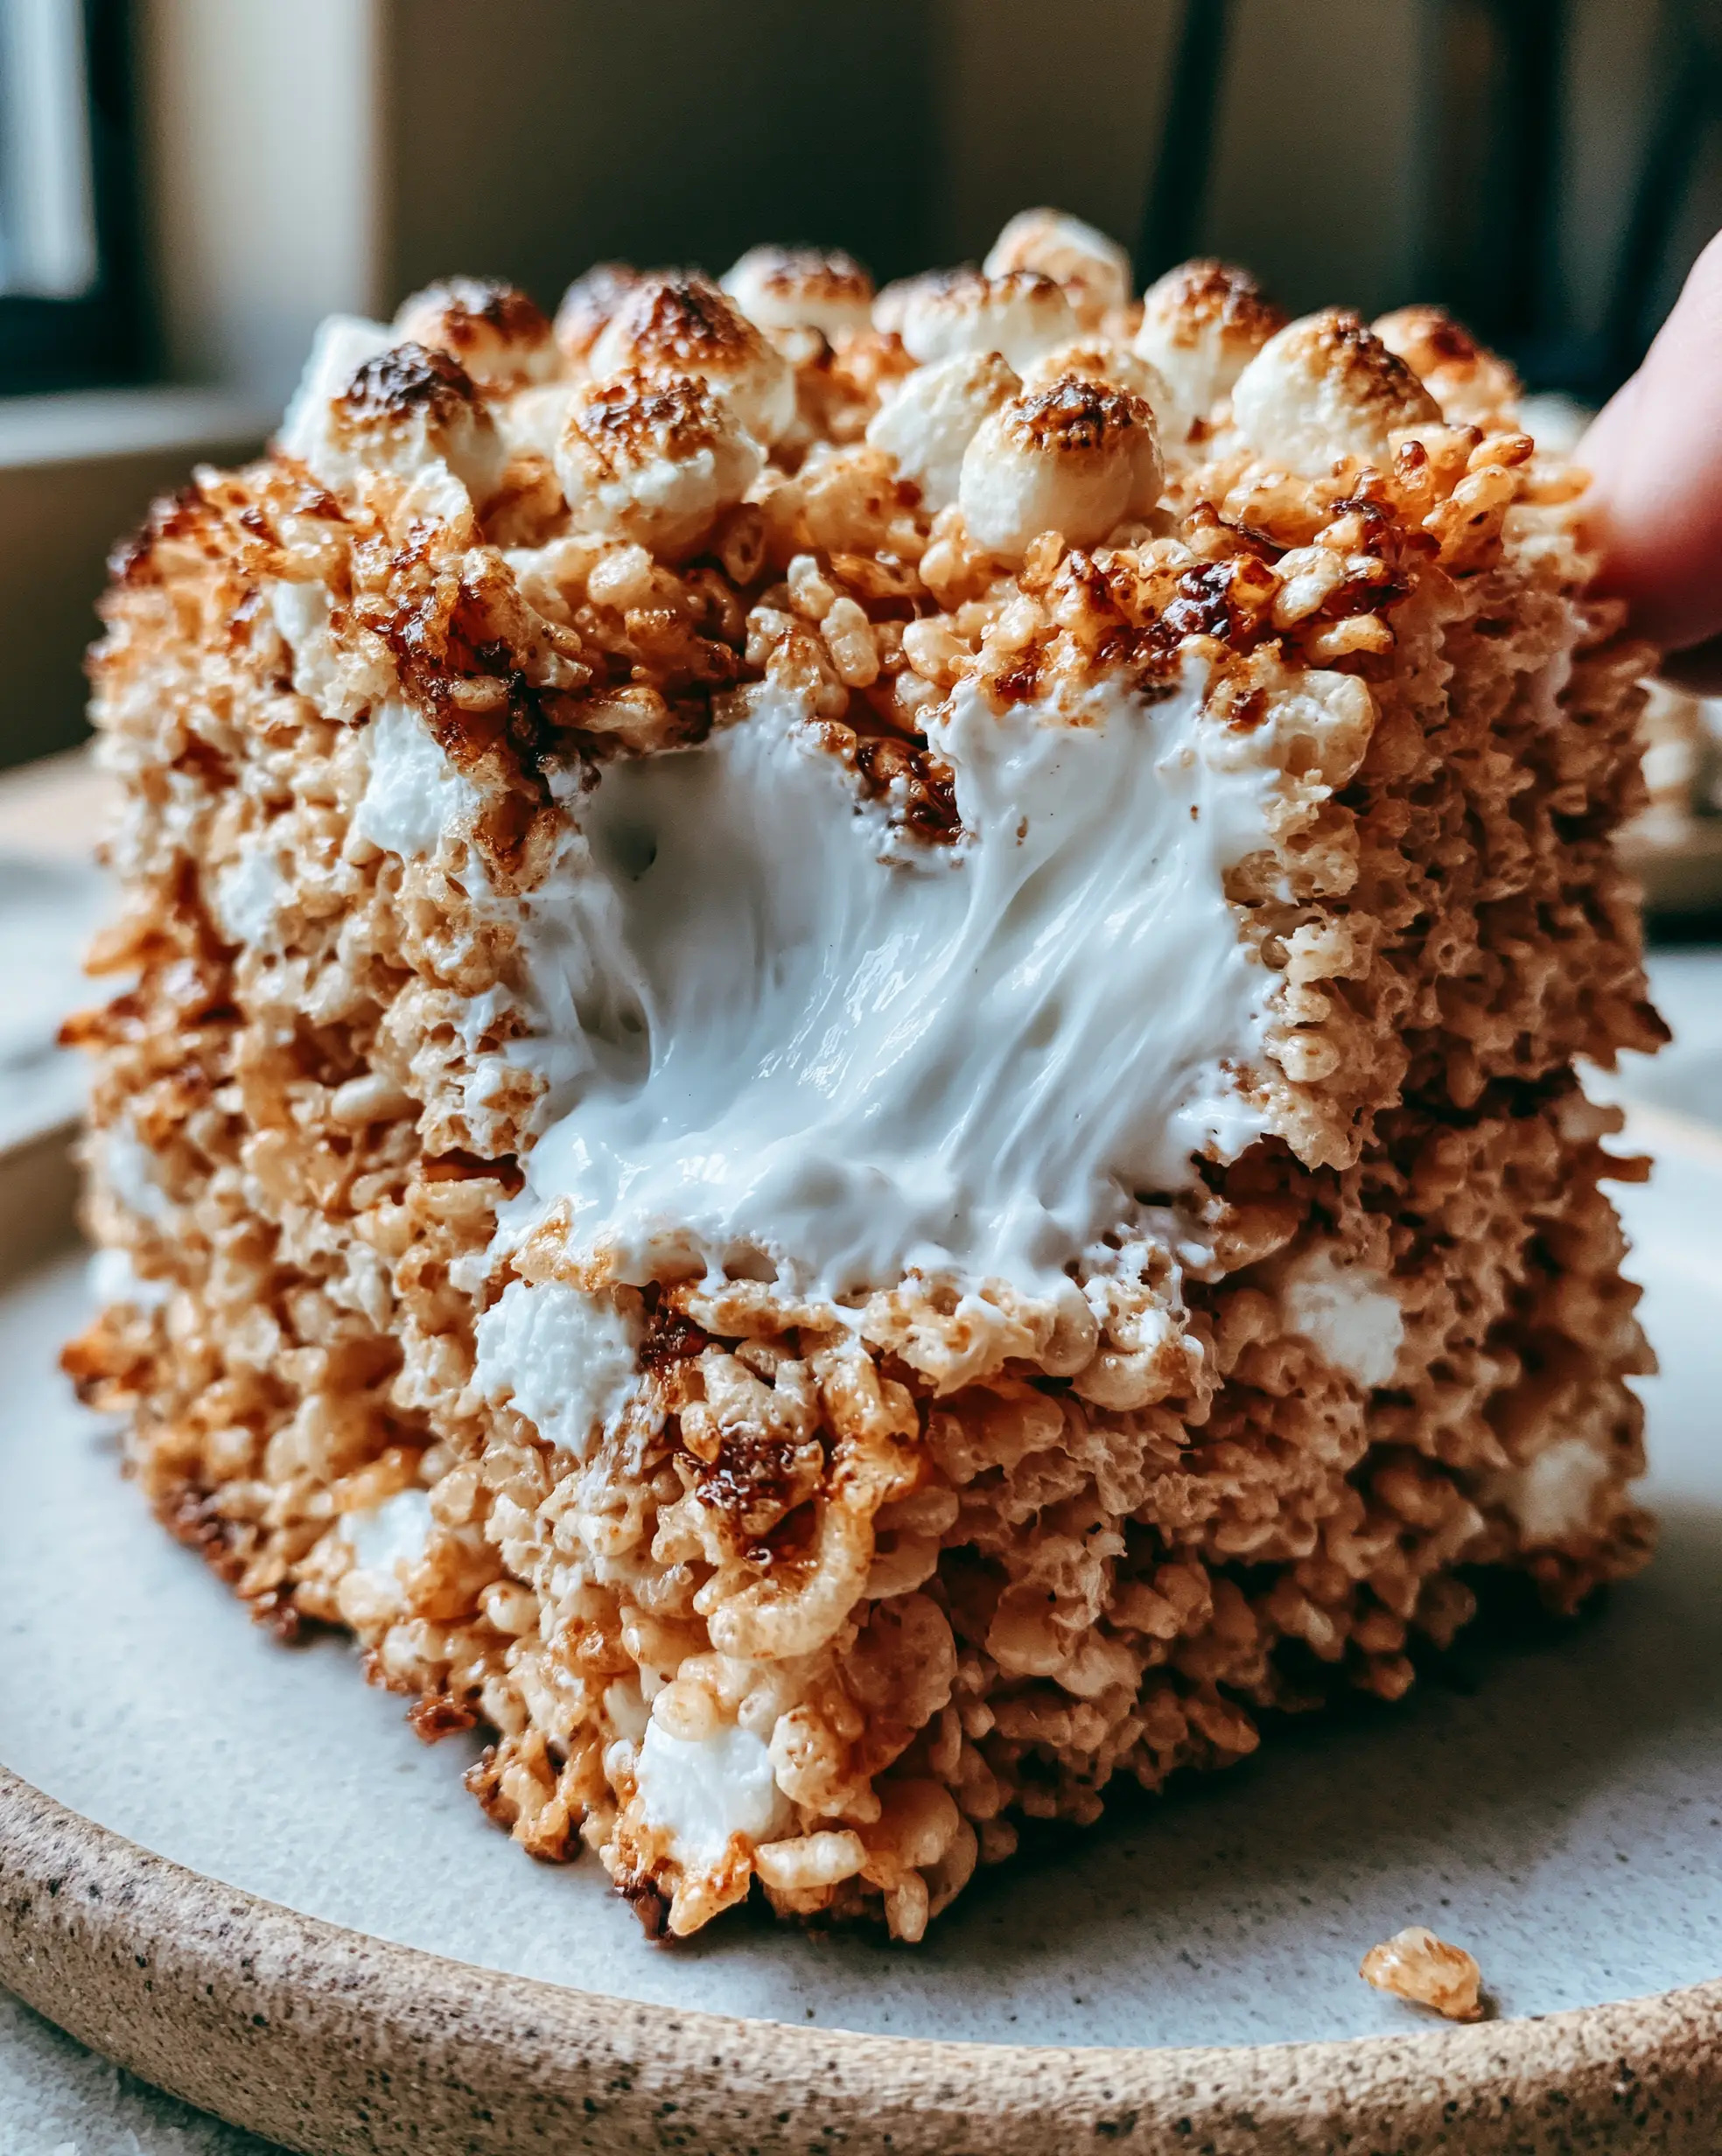
Rice Krispie Treats Recipe: The Ultimate Brown Butter and Gooey Marshmallow Masterpiece
Ingredients
Equipment
Method
- Melt butter in a large pot over medium heat. Continue cooking, swirling occasionally, until foam subsides and dark brown butter specks form at the bottom. The butter should smell nutty and look deep amber.
- Reduce heat to low and add 15oz (425g) of marshmallows and salt. Stir constantly until just melted and smooth. Remove from heat and stir in vanilla.
- Gently fold in the rice cereal until mostly coated. Add the remaining 5oz (141g) of marshmallows and fold briefly to create the gooey core.
- Transfer to a parchment-lined 8x8 pan. Press down very lightly with a buttered spatula. Let set at room temperature for 30-60 minutes.
Notes
Always use low heat when melting marshmallows to keep them stretchy.
Closing Thoughts on This Classic Redefined
Mastering the rice krispie treats recipe is a rite of passage for any home cook. By focusing on the quality of the brown butter and the specific timing of the marshmallow additions, you transform a simple snack into a gourmet experience. The result is a thick, stretchy, and deeply flavorful treat that looks as if it stepped off the screen of a professional food shoot.
If you enjoyed this recipe, please leave a comment below and share your results! You can also follow me for more culinary inspiration on Pinterest.


