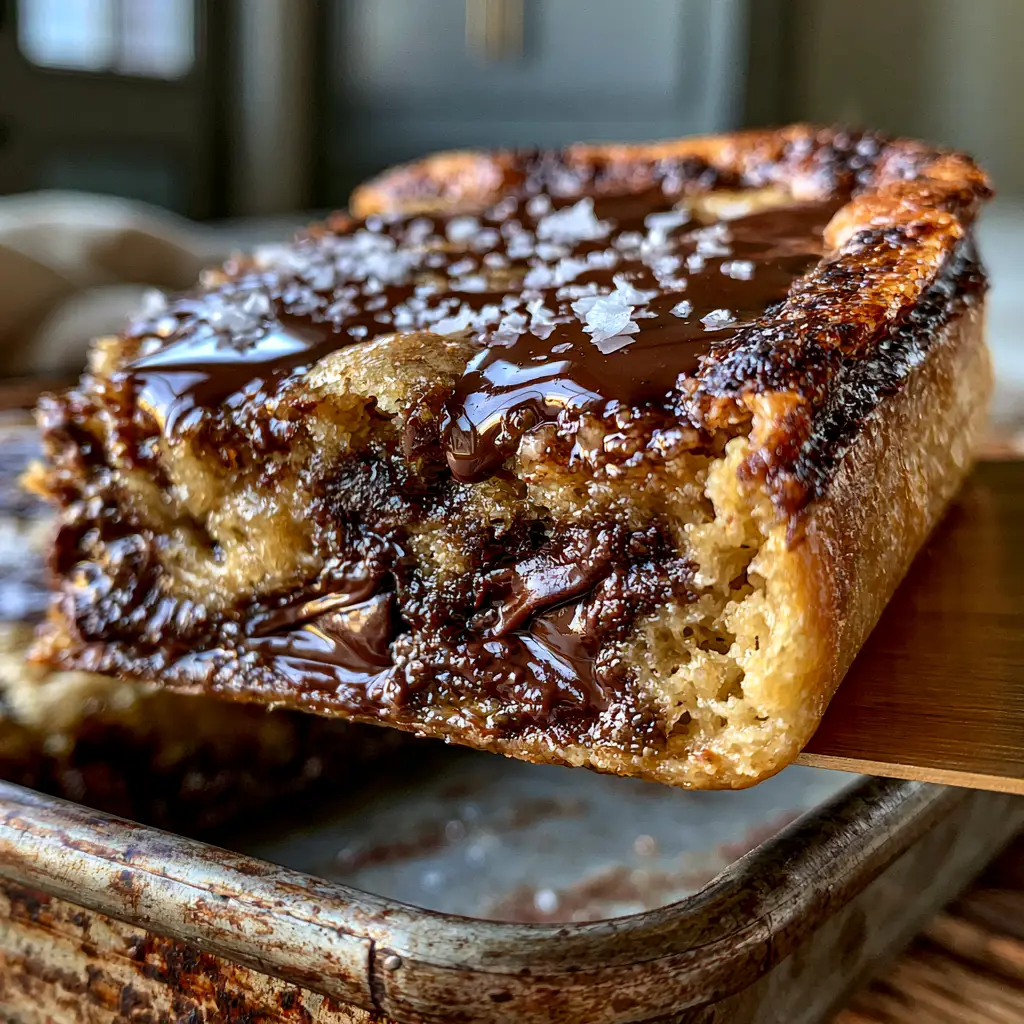
Chocolate chip pan chewies are the ultimate solution for when you crave the soul-warming comfort of a classic cookie but demand the decadent, dense texture of a fudge brownie. These aren’t your average dry, cakey bars; we are talking about a caramelized cookie bar crust that shatters slightly upon entry, giving way to an underbaked fudgy center that practically melts on your tongue.
If you have been searching for that perfect handheld dessert that balances molten dark chocolate chunks with the nostalgic sweetness of semi-sweet chocolate chips, you have arrived. This recipe is engineered for maximum decadence, finished with a generous scatter of flaky Maldon sea salt to cut through the richness and keep you coming back for “just one more” square.
Why These Fudgy Chocolate Chip Pan Chewies Reign Supreme
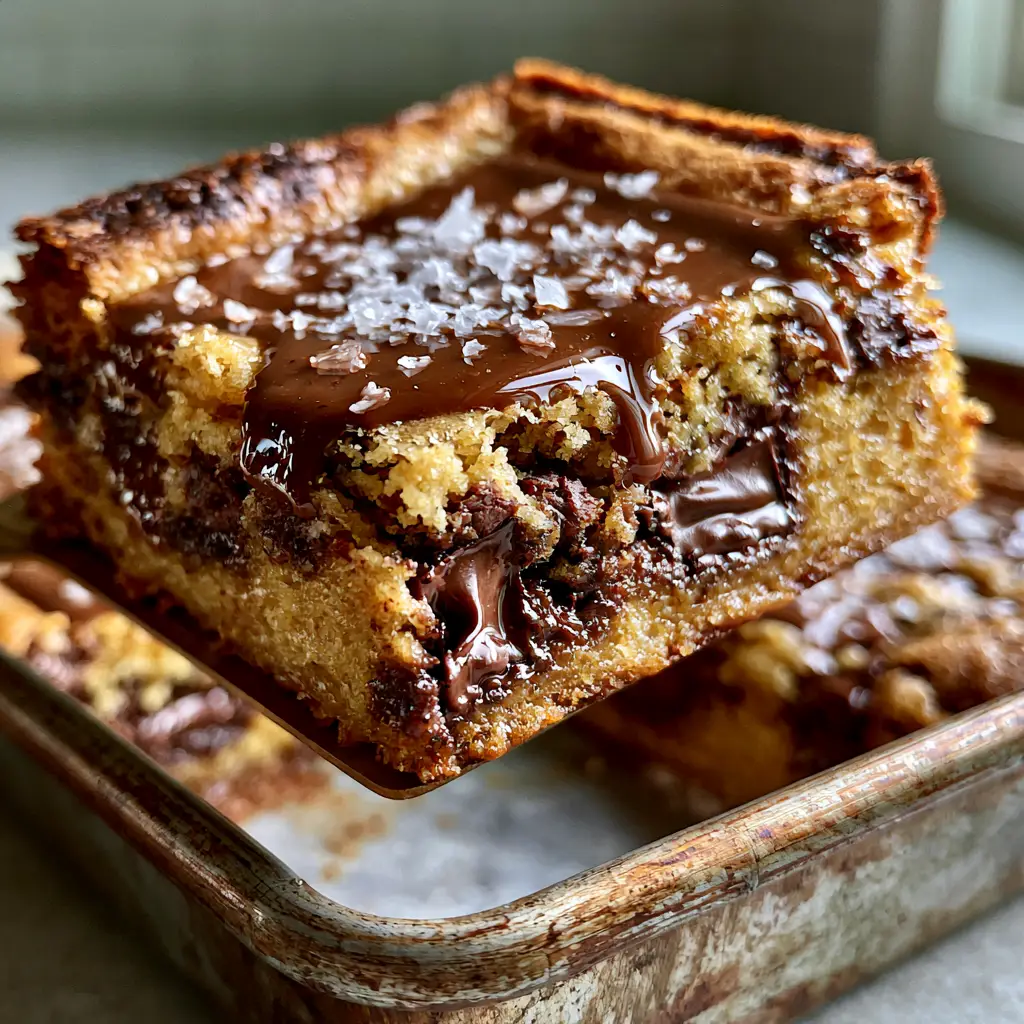
- The Texture Contrast: You get a crisp, golden-brown exterior and a center so gooey it’s nearly molten.
- Double Chocolate Profile: We use both 70% dark chocolate chunks for depth and semi-sweet chips for that classic childhood flavor.
- Pantry Staple Hero: No fancy equipment is required—just a rustic metal baking pan and a craving for something sweet.
- Visual Showstopper: With glistening pools of warm chocolate and glistening salt flakes, these are built for the perfect “Pinterest-worthy” pull.
Essential Ingredients for the Best Pan Chewies
To achieve the forensic visual accuracy of a professional bakery, every ingredient in these chocolate chip pan chewies serves a scientific purpose. We aren’t just mixing dough; we are building layers of flavor and texture.
Unsalted Butter (1 cup / 227g): We melt the butter to ensure a denser, chewier crumb. For extra depth, you can brown it until it smells nutty and toasted.
Brown Sugar (1 ½ cups / 300g): High moisture content in brown sugar is the secret to that underbaked fudgy center. It provides the molasses notes needed for the caramelized cookie bar crust.
Granulated Sugar (½ cup / 100g): This helps crisp up the edges and promotes the beautiful golden-brown color on top.
Large Eggs + 1 Egg Yolk: The extra yolk adds fat and emulsifiers, which prevents the bars from becoming cakey and keeps them strictly in the “chewy” category.
All-Purpose Flour (2 ¼ cups / 280g): The structural foundation. We measure carefully to ensure the bars aren’t dry.
Dark Chocolate Chunks (1 cup / 170g): Use a high-quality 70% cacao bar chopped into irregular pieces to create those molten dark chocolate pockets.
Semi-Sweet Chocolate Chips (1 cup / 170g): These hold their shape better than chunks, providing a textured bite throughout the dough.
Maldon Sea Salt: A final scatter of these crystalline flakes transforms a simple sweet treat into a gourmet experience.
Step-by-Step Guide to Achieving the Perfect Fudgy Center
1. Preparing the Foundation
Start by preheating your oven to 350°F (175°C). Line a 9×9 inch (23x23cm) rustic metal baking pan with parchment paper, leaving an overhang on the sides. This “sling” allows you to lift the chocolate chip pan chewies out effortlessly later.
In a large bowl, whisk your melted butter with the brown sugar and granulated sugar. Do not over-mix here; you want the sugars to dissolve into the fat until the mixture looks like wet sand. This creates the base for the caramelized cookie bar crust.
2. The Secret to the Chewy Texture
Add your eggs, extra egg yolk, and two teaspoons of high-quality vanilla extract. Whisk vigorously for about 1-2 minutes. You will notice the batter change from dark brown to a lighter, pale caramel color. This aeration is what creates the thin, crackly top reminiscent of a brownie.
Gently fold in your dry ingredients: flour, baking soda, and a half-teaspoon of fine sea salt. Stop the moment you see no more white streaks of flour. Over-mixing at this stage develops gluten, which will turn your chocolate chip pan chewies into bread—and we want fudge!
3. Incorporating the Molten Chocolate Pockets
Fold in the semi-sweet chocolate chips and half of the dark chocolate chunks. Reserve the remaining dark chocolate for the top. Press the thick dough into your prepared pan, smoothing it to the edges.
Now, take those reserved dark chocolate chunks and press them into the surface. This ensures that the final result features glistening pools of warm chocolate visible to the eye, exactly like the ones seen in chocolate chip cookie butter bars.
4. The Golden Bake
Slide the pan into the oven and bake for 22-26 minutes. Visual Cue: You are looking for edges that are set and deep golden brown, while the center should still have a very slight, hypnotic jiggle when the pan is nudged. Do not overbake! The bars will continue to set as they cool.
As soon as you pull them out, sprinkle a generous amount of flaky Maldon sea salt over the hot chocolate pools. Let them cool in the pan for at least 30 minutes before lifting them out. This patience is what guarantees a clean cut and a dense, underbaked center.
Expert Tips for Success
- Use a Metal Pan: Glass or ceramic pans retain heat differently and can lead to uneven baking. A rustic metal pan ensures that caramelized cookie bar crust we’re after.
- Don’t Skip the Extra Yolk: If you want that signature “pan chewy” texture, that extra yolk is non-negotiable for fat content.
- The Chop Matters: Chopping a chocolate bar instead of using all chips creates “chocolate dust” that streaks through the dough, enhancing the overall cocoa flavor.
- Measure Flour by Weight: If you use too much flour, you lose the underbaked fudgy center. A kitchen scale is a baker’s best friend.
How to Store and Reheat Your Pan Chewies
These chocolate chip pan chewies stay incredibly moist for days. Store them in an airtight container at room temperature for up to 4 days. If you like them extra gooey, pop a square in the microwave for 10 seconds to re-melt those molten dark chocolate chunks.
For long-term storage, you can freeze individual bars wrapped in plastic wrap and placed in a freezer bag for up to 3 months. They are fantastic even when eaten cold, similar to the texture of chocolate chip cookie dough brownie bites.
What to Serve With This
While these bars are a powerhouse on their own, they pair beautifully with a cold glass of whole milk or a scoop of vanilla bean ice cream. If you are hosting a dessert party, consider serving them alongside salted caramel chocolate chip cookie bars for a variety of textures.
For a fruity contrast, these also pair surprisingly well with a side of fresh strawberries, much like the flavor profile found in our strawberry chocolate chip muffins.
Frequently Asked Questions
Yes, you can substitute the all-purpose flour with a high-quality 1:1 gluten-free baking flour blend. The texture will remain very similar due to the high fat and sugar content.
Yes, you can, but you will miss out on the molten chocolate pools. Dark chocolate chunks melt differently, creating those large pockets of gooey chocolate seen in the photos.
For the specific ‘caramelized cookie bar crust’ mentioned, a metal pan is best because it conducts heat quickly. If using glass, you may need to increase the bake time by 3-5 minutes.
The secret is patience! Let the bars cool completely in the pan for at least 30-60 minutes so the fudgy center sets up. For the cleanest cuts, use a large sharp knife and wipe it clean between each slice.
This usually happens due to over-mixing the flour or over-baking. To keep them fudgy, stop mixing as soon as the flour disappears and pull them from the oven while the center still has a slight jiggle.
The Ultimate Chocolate Chip Pan Chewies Recipe
Chocolate Chip Pan Chewies: The Fudgiest Gooey Cookie Bars
Ingredients
Equipment
Method
- Preheat oven to 350°F (175°C). Line a 9x9 inch rustic metal pan with parchment paper.
- Whisk melted butter, brown sugar, and granulated sugar in a large bowl until combined.
- Whisk in eggs, egg yolk, and vanilla for 1-2 minutes until the mixture lightens in color.
- Gently stir in flour, baking soda, and fine salt until just combined. Do not overmix.
- Fold in semi-sweet chips and half the dark chocolate chunks. Press dough into the pan.
- Top with remaining chunks. Bake for 22-26 minutes until edges are golden and center has a slight jiggle.
- Sprinkle with Maldon sea salt while hot. Cool for 30 minutes before slicing.
Notes
For an even fudgier center, bake for exactly 22 minutes.
Join the Community!
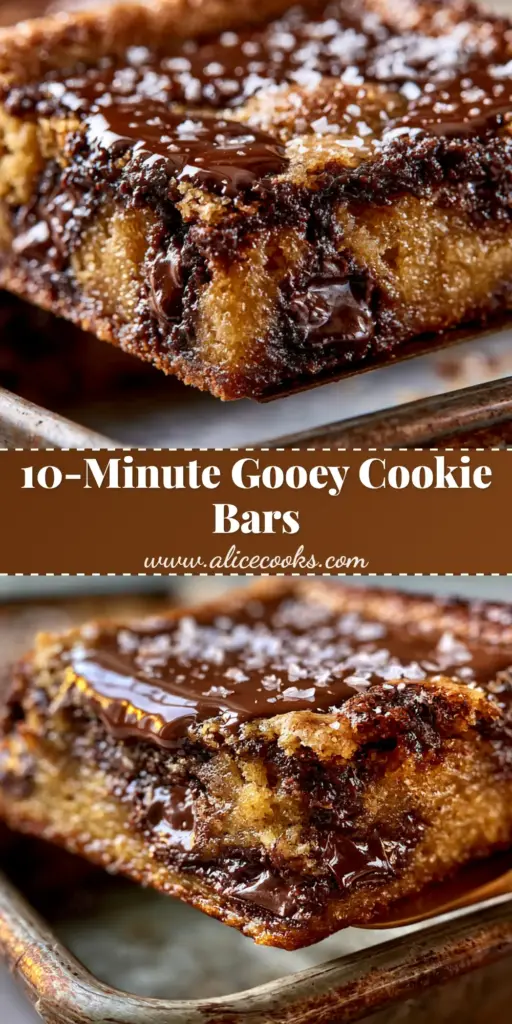
We hope you love these chocolate chip pan chewies as much as we do! If you make this recipe, please save it to your favorite Pinterest board so you never lose it. Don’t forget to follow @alicecooks_official for more decadent baking inspiration.
Did yours come out with those perfect molten chocolate puddles? Share a photo in the comments below and leave us a 5-star rating! Your feedback helps other home cooks find the best recipes.