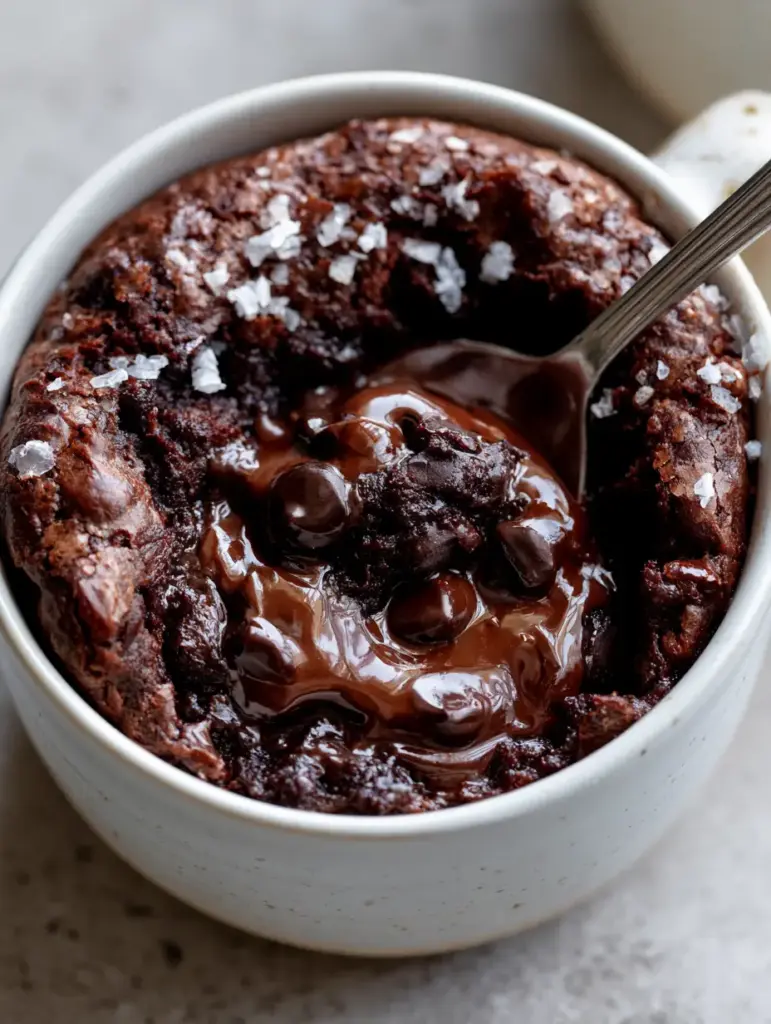
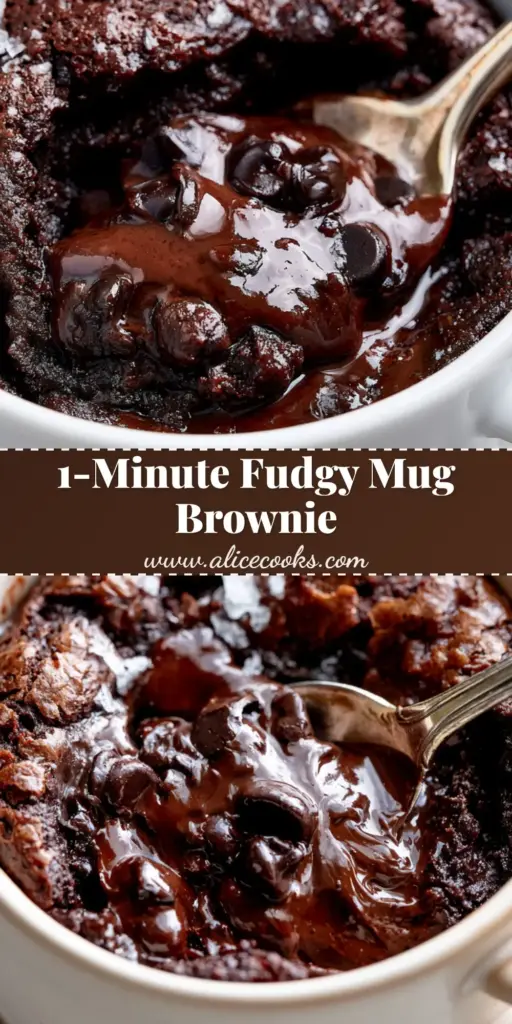
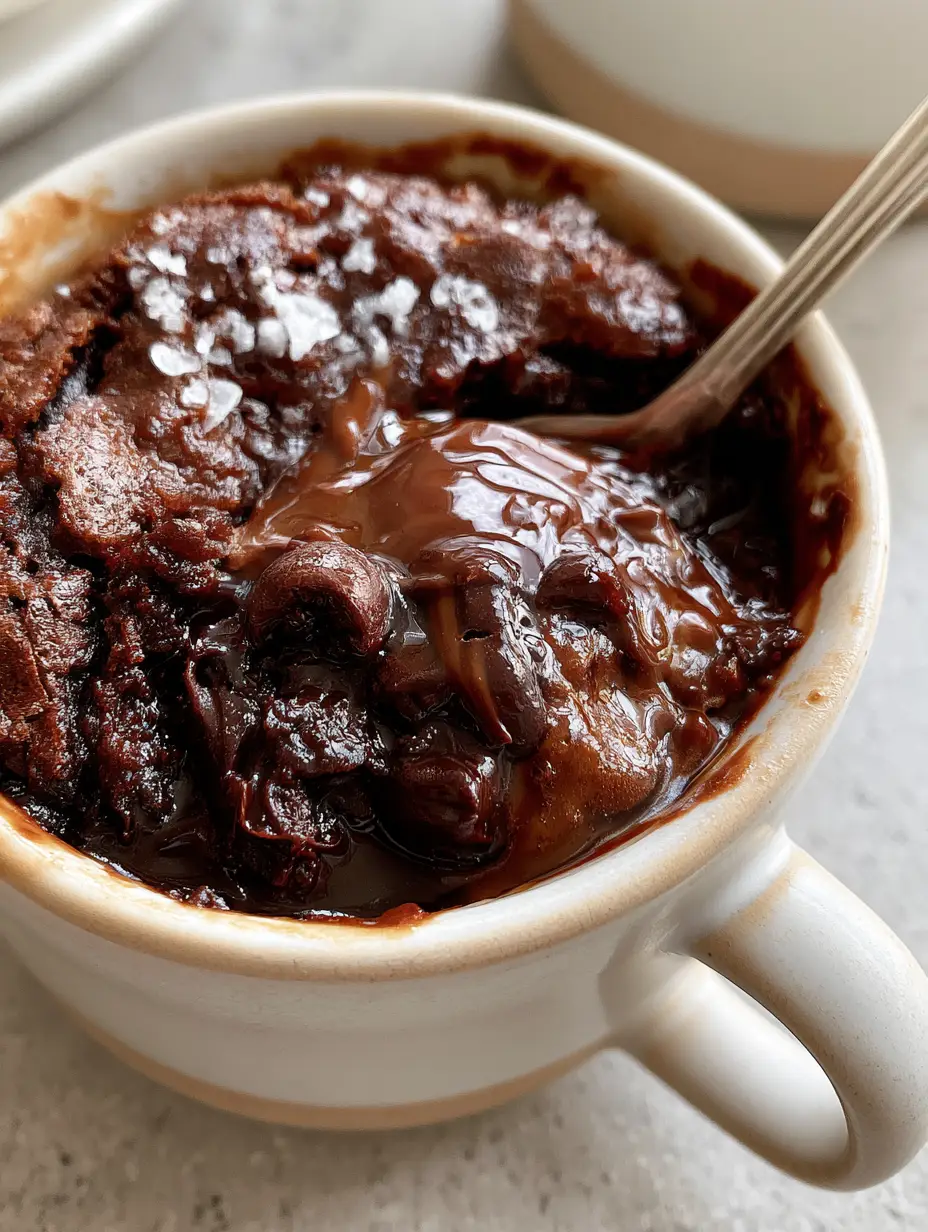
This Microwave brownie is the answer to every late-night chocolate craving you have ever had. Imagine a dessert that takes less than five minutes from pantry to plate, yet delivers the sophisticated texture of a gourmet bakery treat. We are talking about an ultra-fudgy, decadent Microwave brownie featuring a molten chocolate center, gooey dark chocolate chips, and a finish of glossy chocolate syrup and flaky sea salt. Whether you are a busy professional or a student in a dorm, this recipe is designed to provide maximum chocolate satisfaction with minimal effort.
Why This Gooey Mug Brownie Recipe Actually Works
- Unmatched Texture: Unlike most mug cakes that turn out spongy or rubbery, this Microwave brownie is engineered for a dense, fudgy crumb.
- The Molten Factor: By burying dark chocolate chips in the center, we create a self-saucing lava effect that mimics a high-end restaurant dessert.
- Scientifically Calibrated: This recipe uses a precise ratio of fat to flour to ensure the edges remain soft while the center stays gooey under microwave radiation.
- Sweet and Salty Balance: The addition of flaky sea salt cuts through the richness of the Microwave brownie, highlighting the complex notes of the cocoa.
If you love this quick fix, you should also check out my classic fudgy brownie recipe for when you have time to use the oven, or perhaps these chocolate chip cookie dough brownie bombs for a party-ready treat.
The Essential Elements for a Perfect Microwave Brownie
To achieve that signature glossy top and crackly surface, you need specific ingredients that react quickly to heat. Here is what you will need to gather from your pantry:
The Dry Components
All-Purpose Flour: 1/4 cup (30g). This provides the structural framework. Be careful not to over-measure, or your Microwave brownie will become bread-like.
Unsweetened Cocoa Powder: 2 tablespoons (15g). Use a high-quality Dutch-processed cocoa for a darker, smoother chocolate flavor profile.
Granulated Sugar: 1/4 cup (50g). Sugar does more than sweeten; it liquefies as it heats, contributing to the “fudgy” moisture levels.
Fine Sea Salt: A tiny pinch. This is crucial for balancing the sweetness and enhancing the chocolate’s depth.
The Liquid & Fat Foundations
Neutral Oil or Melted Butter: 2 tablespoons (30ml). While butter adds flavor, a neutral oil like canola or vegetable oil ensures the Microwave brownie stays moist even after it cools slightly.
Whole Milk: 2 tablespoons (30ml). This provides the necessary hydration to activate the gluten and dissolve the sugar.
Vanilla Extract: 1/2 teaspoon (2.5ml). A culinary “background noise” that makes the chocolate taste more like chocolate.
The Visual & Flavor Finishers
Dark Chocolate Chips: 1-2 tablespoons. These are tucked into the center to create that molten chocolate center specified in our visual blueprint.
Glossy Chocolate Syrup: For drizzling over the finished product to create a professional, high-RPM Pinterest look.
Flaky Sea Salt: The final touch that adds a crunch and elevates the flavor profile of the Microwave brownie.
Step-by-Step: Crafting Your Molten Microwave Masterpiece
Step 1: The Mixing Phase
In a microwave-safe minimalist ceramic mug (roughly 8-12 ounces / 240-350ml), whisk together your flour, cocoa powder, sugar, and a pinch of salt. Ensure there are no large clumps of cocoa powder. Pro tip: Using a small whisk or a fork ensures the dry ingredients are fully aerated before adding liquids.
Step 2: Incorporating the Liquids
Add the oil (or melted butter), milk, and vanilla extract directly into the mug. Stir gently until the batter is smooth and glossy. The batter for a Microwave brownie should be thicker than cake batter but pourable—think of a thick ganache consistency.
Step 3: Creating the Molten Core
Take your dark chocolate chips and press them into the very center of the batter. Do not stir them in; let them sit in a cluster. This ensures that when you dig in with a spoon, you get that ultra-fudgy, molten gooey chocolate interior we are aiming for. If you enjoy this texture, you might also like my banana pudding brownies.
Step 4: The Precision Cook
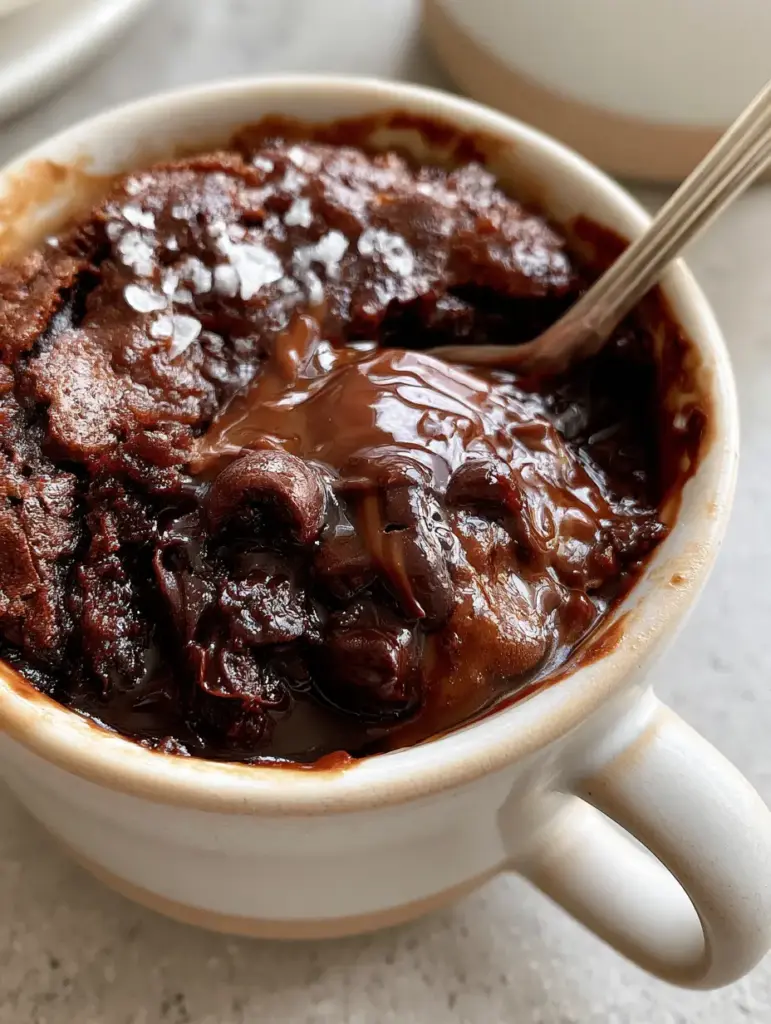
Place the mug in the center of the microwave. Cook on high power for 60 to 90 seconds. Visual Cue: Watch for the edges to be set while the very center still looks slightly damp or “glistening.” Because every microwave varies in wattage, start at 60 seconds and add 10-second intervals if needed.
Step 5: The Finishing Drizzle
Once removed (careful, the mug will be hot!), let it rest for 1 minute. This allows the residual heat to finish cooking the center without drying it out. Drizzle with glossy chocolate syrup and a generous sprinkle of flaky sea salt. The result should look exactly like a macro smartphone photo of a rich chocolate dessert.
Expert Tips for the Perfect Mug Brownie Success
- Don’t Overcook: A Microwave brownie continues to firm up as it cools. If it looks “done” in the microwave, it will likely be overdone by the time you eat it.
- Mug Size Matters: Use a wide, shallow mug rather than a tall, thin one. This allows for more even heat distribution and better surface area for your toppings.
- Flavor Variations: Try adding a teaspoon of espresso powder to the dry mix to intensify the chocolate, or a swirl of peanut butter for a salty twist similar to my cookie butter bars.
- Quality of Chocolate: Since there are so few ingredients, the quality of your cocoa and chocolate chips will dictate the final taste. Use at least 60% cacao for the chips.
Storage, Reheating, and Make-Ahead Instructions
This Microwave brownie is best enjoyed immediately while the center is still molten. However, if you have leftovers, you can cover the mug with plastic wrap and store it at room temperature for up to 24 hours. To reheat, microwave for just 10-15 seconds to soften the fats and melt the chocolate chips again. We do not recommend freezing mug brownies as the texture can become grainy upon thawing.
What to Serve With Your Microwave Brownie
To turn this into a full dessert experience, serve it alongside a cold glass of milk or a scoop of vanilla bean ice cream. The contrast between the hot, molten chocolate center and the cold ice cream is elite. For a fruitier pairing, fresh raspberries or strawberries provide a tart balance to the rich Microwave brownie. If you are hosting a summer gathering, this pairs beautifully after a light meal and some refreshing summer drinks.
Frequently Asked Questions
Yes! Simply swap the whole milk for almond or oat milk, and ensure your chocolate chips and chocolate syrup are dairy-free.
Absolutely. Melted butter adds a richer flavor, but oil typically results in a moister brownie that stays soft longer.
This recipe is tested in an 1100W microwave. If your microwave is lower wattage (e.g., 700W), you may need to increase the cook time to 90-100 seconds.
A rubbery texture is usually caused by overcooking or using too much flour. Ensure you measure your flour correctly and stop the microwave while the center still looks slightly wet.
Ready to Make This Fudgy Microwave Brownie?
Microwave brownie: The Ultimate Single-Serve Molten Lava Mug Cake
Ingredients
Equipment
Method
- In a microwave-safe ceramic mug, whisk together the flour, sugar, cocoa powder, and fine salt until no clumps remain.
- Stir in the oil, milk, and vanilla extract until the batter is smooth and glossy.
- Press the dark chocolate chips into the center of the batter without stirring.
- Microwave on high for 60-90 seconds until edges are set but the center remains slightly glistening.
- Let rest for 1 minute, then drizzle with chocolate syrup and sprinkle with flaky sea salt before eating with a spoon.
Notes
Use a high-wattage microwave for best results; check at 60 seconds.
Share Your Chocolate Creations!
Did your Microwave brownie turn out with that perfect crackly top and molten center? We want to see it! Save this recipe to your “Quick Desserts” or “Chocolate Lovers” board on Pinterest so you never lose it. Follow @alicecooks_official for more viral-ready treats. If you made this, please leave a 5-star rating in the recipe card above and drop a photo in the comments below! Your feedback helps our community grow and keeps the chocolate flowing.