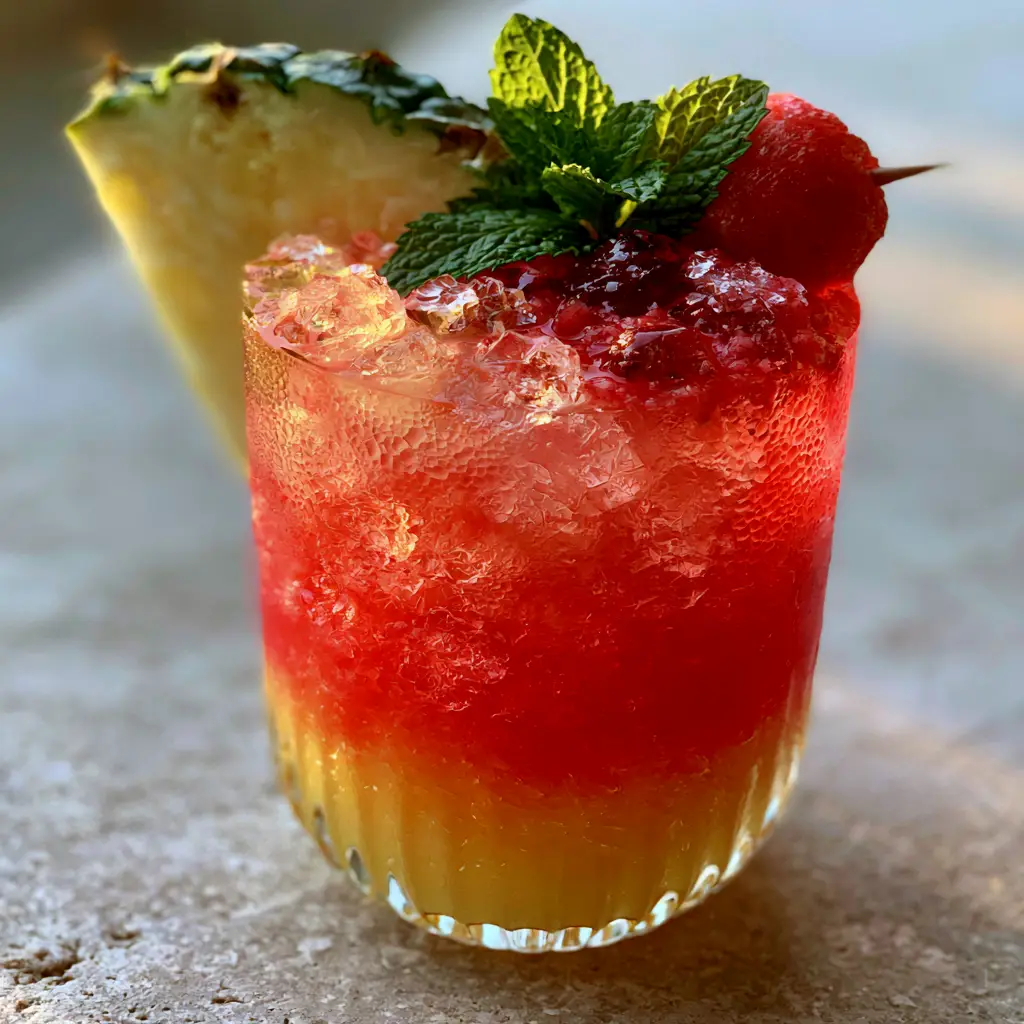
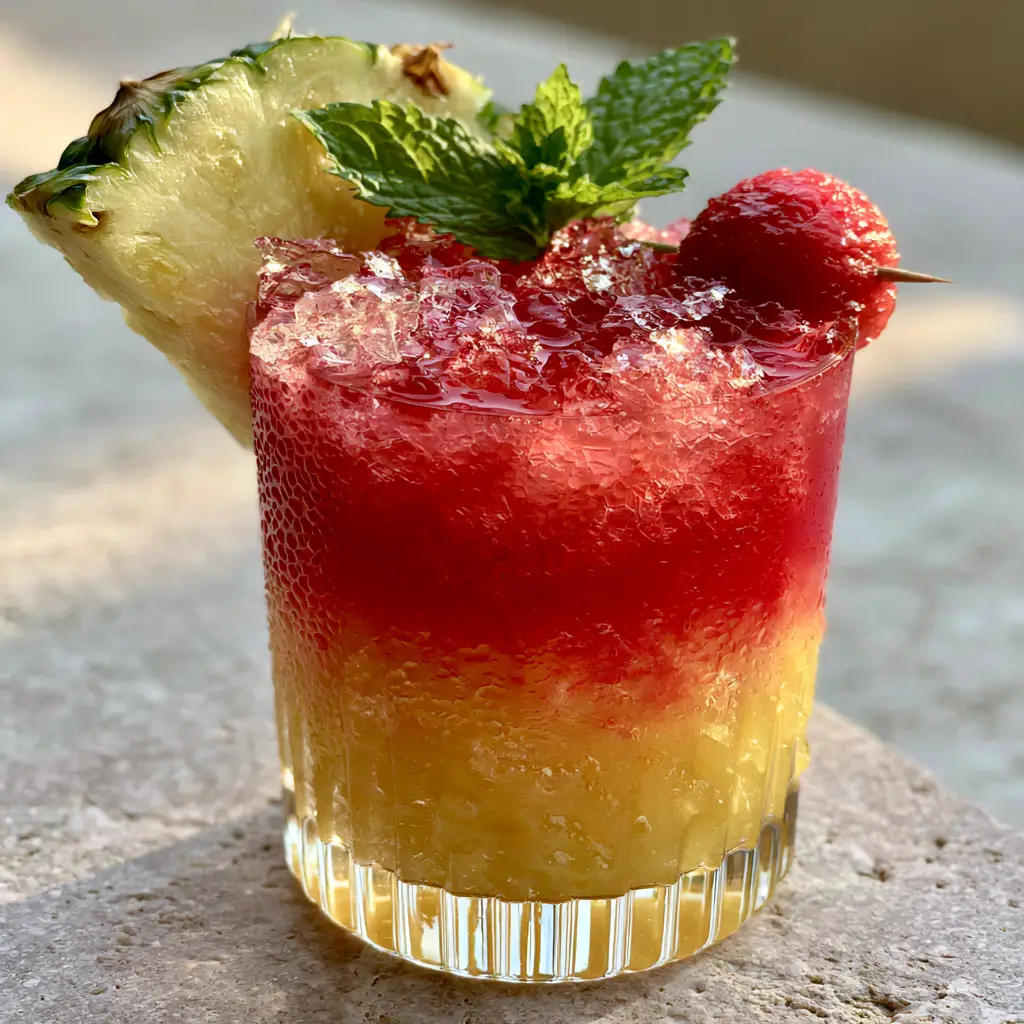
There is nothing quite like the first sip of a cold beverage on a sweltering July afternoon. The Watermelon pineapple chill mocktail isn’t just a drink; it is a visual masterpiece that captures the essence of tropical relaxation in a modern ribbed glass. This layered beverage features a stunning gradient from a rich golden base to a vibrant ruby-red top, making it the envy of every backyard barbecue.
When you hold this glass, you will notice the immediate chill. The water condensation beads on the textured surface of the glass, a sensory promise of the refreshment to come. Using fresh fruit is non-negotiable here, as the natural sugars provide the density required to create those distinct, professional-looking layers without the need for artificial syrups.
Why This Layered Watermelon Drink is a Summer Essential
- Stunning Visual Contrast: The transition from the golden pineapple puree to the deep ruby watermelon juice creates a sunset-in-a-glass effect.
- Textural Harmony: By using cracked ice rather than standard cubes, the drink stays colder longer and provides a satisfying crunch.
- Sophisticated Garnish: The combination of a fresh pineapple slice, a cooling mint sprig, and a skewered watermelon ball elevates this from a simple juice to a gourmet mocktail.
- Hydration with Flavor: This drink relies on the high water content of seasonal melons, making it as hydrating as it is delicious.
If you enjoy the tropical profile of this recipe, you might also want to explore our refreshing pineapple drinks for your next gathering. Much like our watermelon slushy alternatives, this mocktail focuses on the purity of the fruit to deliver maximum impact.
The Vibrant Elements for This Layered Sip
To achieve the precise look of the Watermelon pineapple chill mocktail, you must select produce at its peak ripeness. The color of your drink depends entirely on the quality of your fruit.
Fresh Watermelon: 4 cups (600g) of seedless red watermelon. This provides the “ruby-red” top layer; choose a melon that feels heavy for its size to ensure maximum juice yield.
Fresh Pineapple: 2 cups (330g) of ripe pineapple chunks. The pineapple must be blended into a thick puree to sit at the bottom of the glass; its natural density is the secret to the layering physics.
Cracked Ice: 2 cups (approx. 250g) of ice. Do not use standard large cubes; cracking the ice allows it to settle tightly in the glass, supporting the fruit garnishes and creating that “glistening” look.
Fresh Mint Sprigs: 4-5 large sprigs. Mint provides the “bright green” aromatic element that hits your nose before the first sip, enhancing the overall sensory experience.
Lime Juice (The Secret Acid): 1 tbsp (15ml) of fresh lime juice. While not visible in the blueprint, lime juice prevents the pineapple from oxidizing and brightening the overall flavor profile.
Watermelon Ball & Pineapple Slice: These are your visual anchors. A perfectly round melon ball and a thin, triangular pineapple slice on the rim provide the “modern” aesthetic described in our visual guide.
The Essential Kit for Bar-Quality Results
Achieving a professional-grade Watermelon pineapple chill mocktail requires more than just a spoon. You need the right tools to manipulate the textures of the fruit.
A high-speed blender is vital for turning fibrous pineapple into a smooth, pourable puree. For the watermelon, a fine-mesh strainer is essential to remove any pulp, ensuring the top layer remains a translucent, vibrant red juice rather than a thick slush.
You will also need a melon baller to create that specific skewered garnish. Finally, the “modern ribbed glass” mentioned in our visual prompt is key for catching the light and highlighting the water condensation that makes this drink look so incredibly cold.
Mastering the Art of the Perfect Dual-Layer Pour
Step 1: Preparing the Golden Pineapple Base
Start by peeling and coring your fresh pineapple. Cut it into small chunks and place them in your blender with a splash of lime juice.
Blend on high until the mixture is a completely smooth puree. It should be thick and heavy. Pour approximately 1/3 cup (80ml) of this golden puree into the bottom of each ribbed glass. Avoid splashing the sides to keep your layers clean.
Step 2: Extracting the Ruby Watermelon Essence
Clean your blender and add the watermelon chunks. Pulse until liquified. This will happen very quickly due to the high water content of the melon.
Pour the liquid through a fine-mesh sieve into a pitcher. This step is crucial. You want “fresh watermelon juice,” not a smoothie texture. The clarity of the liquid is what allows the light to pass through the “ruby-red” layer.
Step 3: Managing the Ice and Condensation
Take your ice cubes and place them in a clean kitchen towel. Use a heavy spoon or a mallet to gently break them into “textured cracked ice.”
Carefully add the cracked ice to the glass on top of the pineapple puree. Fill the glass almost to the brim. The ice acts as a buffer for the next layer, preventing the liquids from mixing too quickly.
Step 4: The Slow Pour Technique
To keep the Watermelon pineapple chill mocktail layered, you must pour the watermelon juice slowly. Hold a bar spoon upside down over the ice and pour the juice over the back of the spoon.
Watch as the ruby red juice settles on top of the golden puree. You should see a distinct transition line. As the cold liquid hits the glass, you will begin to see that beautiful water condensation forming on the exterior ribs.
Step 5: Architecting the Garnish
Slide a fresh pineapple slice onto the rim of the glass. Use a bamboo skewer to pierce a perfectly round watermelon ball and rest it across the top of the ice.
Tuck a bright green mint sprig into the ice right next to the melon ball. The contrast of the green against the red and gold completes the visual prompt perfectly. Serve immediately while the ice is still “glistening.”
Expert Secrets for Crystal Clear Layers
- Temperature Control: Ensure both fruit bases are chilled before assembly. If the liquids are different temperatures, they will mix faster due to convection.
- Density Math: If your pineapple puree is too thin, add a teaspoon of honey or agave. Increasing the sugar content makes the bottom layer heavier, ensuring it stays put.
- The Ribbed Glass Advantage: Using a glass with vertical ribs actually helps hide small imperfections in the layering line while enhancing the visual of the “condensation.”
- Straining is Mandatory: Never skip straining the watermelon. Any pulp will sink into the pineapple layer and ruin the “vibrant ruby” clarity.
For more sophisticated hosting ideas, consider our sophisticated botanical mocktails or even a frozen summer drink to offer your guests a variety of textures.
Storing Your Fresh Fruit Bases
While the Watermelon pineapple chill mocktail is best served fresh to maintain the “cracked ice” texture, you can prep the components in advance. The pineapple puree will stay fresh in an airtight container for up to 48 hours.
The watermelon juice tends to separate after a few hours. If you prep it early, give it a quick stir before pouring. We do not recommend freezing the assembled drink, as the layers will merge and the mint will wilt.
However, you can freeze leftover watermelon juice in ice cube trays! This is a great tip we often share in our outdoor event beverages guides to prevent drinks from getting watered down.
Perfect Pairings for Summer Hosting
This mocktail is naturally sweet and acidic, making it a perfect partner for light summer fare. Serve it alongside fresh seafood or a bright citrus salad. The vibrant colors also make it a standout choice for wedding drink menus.
If you are hosting a dessert-focused party, the tropical notes pair beautifully with fruit-forward treats. Try serving it with our strawberry shortcake trifles or perhaps some white chocolate blondies for a rich contrast.
Frequently Asked Questions
Absolutely. You can stir a shot of white rum or vodka into the pineapple puree layer before adding the ice and watermelon juice to maintain the layered look.
You can, but the flavor won’t be as vibrant. If using canned, choose pineapple chunks in juice (not syrup) and drain well before pureeing to maintain the right consistency for layering.
The key is density and pouring technique. Ensure your pineapple puree is thick (add a little sweetener if needed) and pour the watermelon juice slowly over the back of a spoon to break its fall.
In a humid summer environment, condensation will form within 30-60 seconds of adding the cracked ice and chilled juices to the glass.
Cracked ice has more surface area, which chills the drink faster and creates the ‘glistening’ visual effect. It also acts as a better filter to support the top layer of juice.
The Ultimate Watermelon Pineapple Chill Mocktail Recipe
Ready to create this sunset in a glass? Follow the precise measurements below to achieve the exact visual result seen in our professional photography. This recipe makes two generous servings of the most refreshing drink you’ll have all summer.
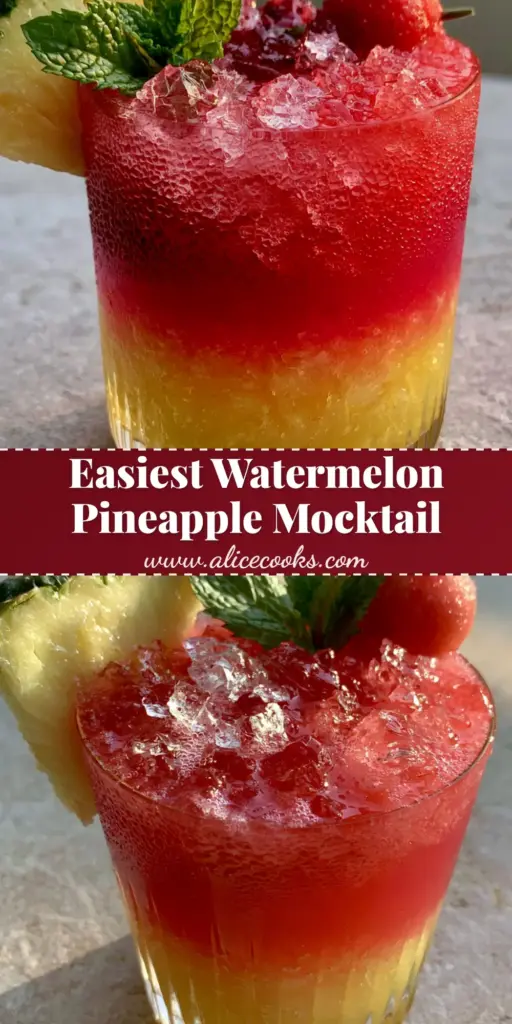
Watermelon Pineapple Chill Mocktail: A Vibrant Two-Tone Summer Sipper
Ingredients
Equipment
Method
- Place pineapple chunks and lime juice in a blender. Process until a thick, golden puree forms. Set aside.
- Clean blender, add watermelon chunks, and pulse until liquid. Pour through a fine-mesh sieve to extract ruby-red juice, discarding pulp.
- Divide the golden pineapple puree between two modern ribbed glasses.
- Fill the glasses to the brim with textured cracked ice. This helps maintain the separation between layers.
- Slowly pour the watermelon juice over the back of a spoon into the glass, creating a distinct ruby-red top layer.
- Garnish with a pineapple slice on the rim, a skewered watermelon ball, and a fresh mint sprig. Serve immediately to enjoy the condensation effect.
Notes
Use a bar spoon to pour the top layer to prevent the colors from bleeding.
Closing & Call to Action
The Watermelon pineapple chill mocktail is more than just a beverage; it’s a celebration of summer’s best flavors. By mastering the simple physics of layering and focusing on high-quality garnishes, you can bring a touch of luxury to your home kitchen. Whether you’re lounging by the pool or hosting a sunset dinner, this drink is guaranteed to impress.
Did you try this recipe? We would love to see your “modern ribbed glass” creations! Leave a comment below and let us know how your layers turned out. Don’t forget to follow us and share your photos with alicecooks_official on Pinterest for more culinary inspiration.