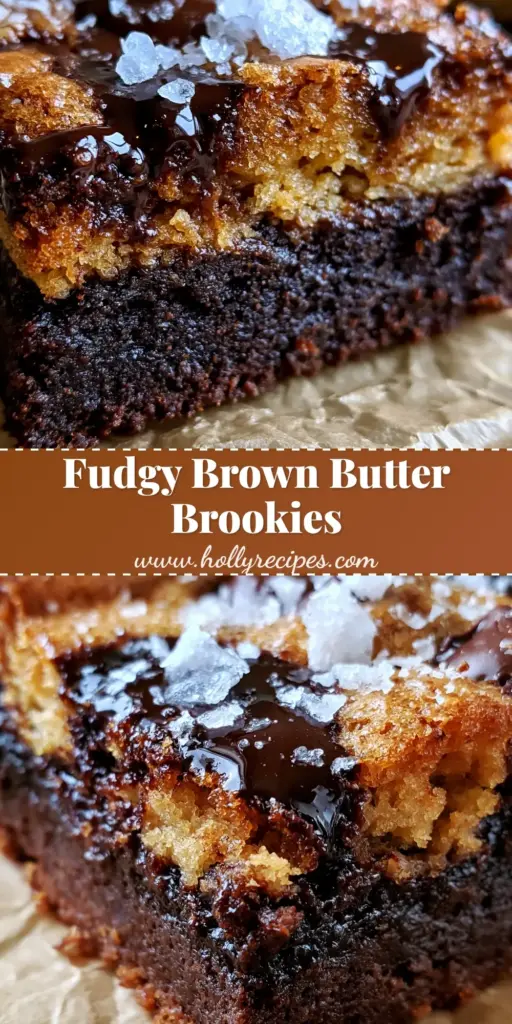
There is a specific kind of culinary magic that happens when you refuse to choose between a chewy cookie and a decadent brownie. These brown butter brookies represent the pinnacle of that fusion, featuring a dense, ultra-fudgy dark chocolate base topped with a golden, caramelized chocolate chip cookie layer. This isn’t just a dessert; it’s a textural masterpiece designed for those who crave the nutty depth of toasted butter and the sharp contrast of flaky sea salt.
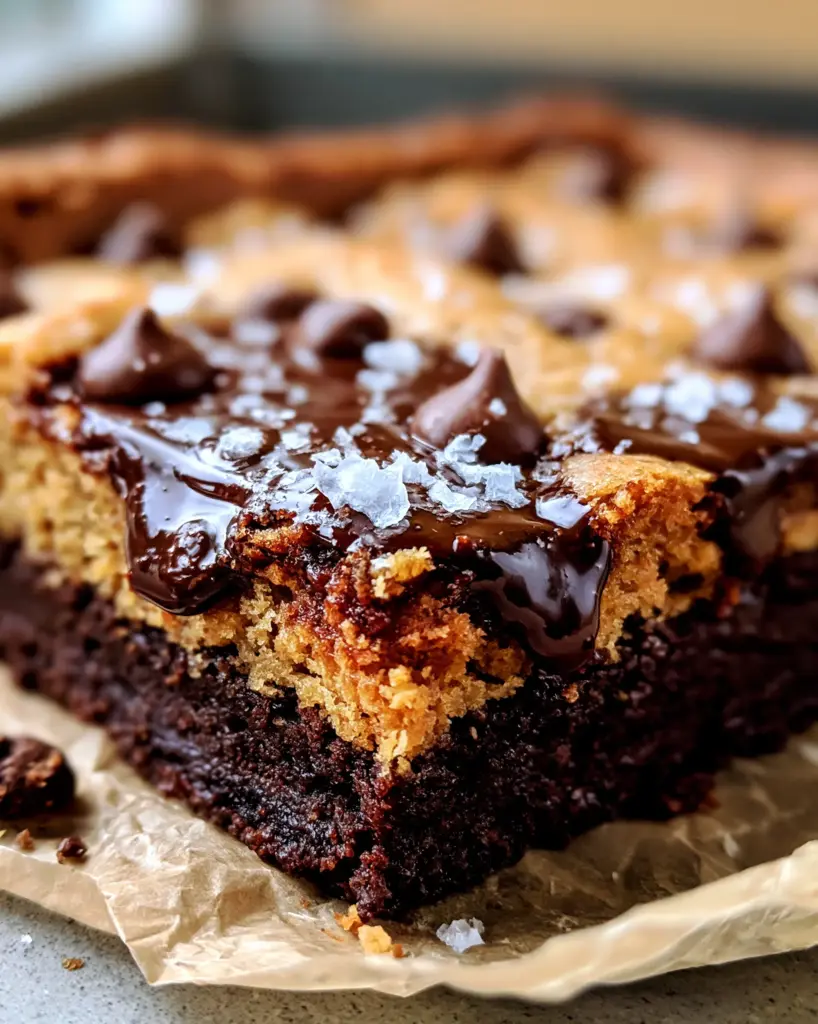
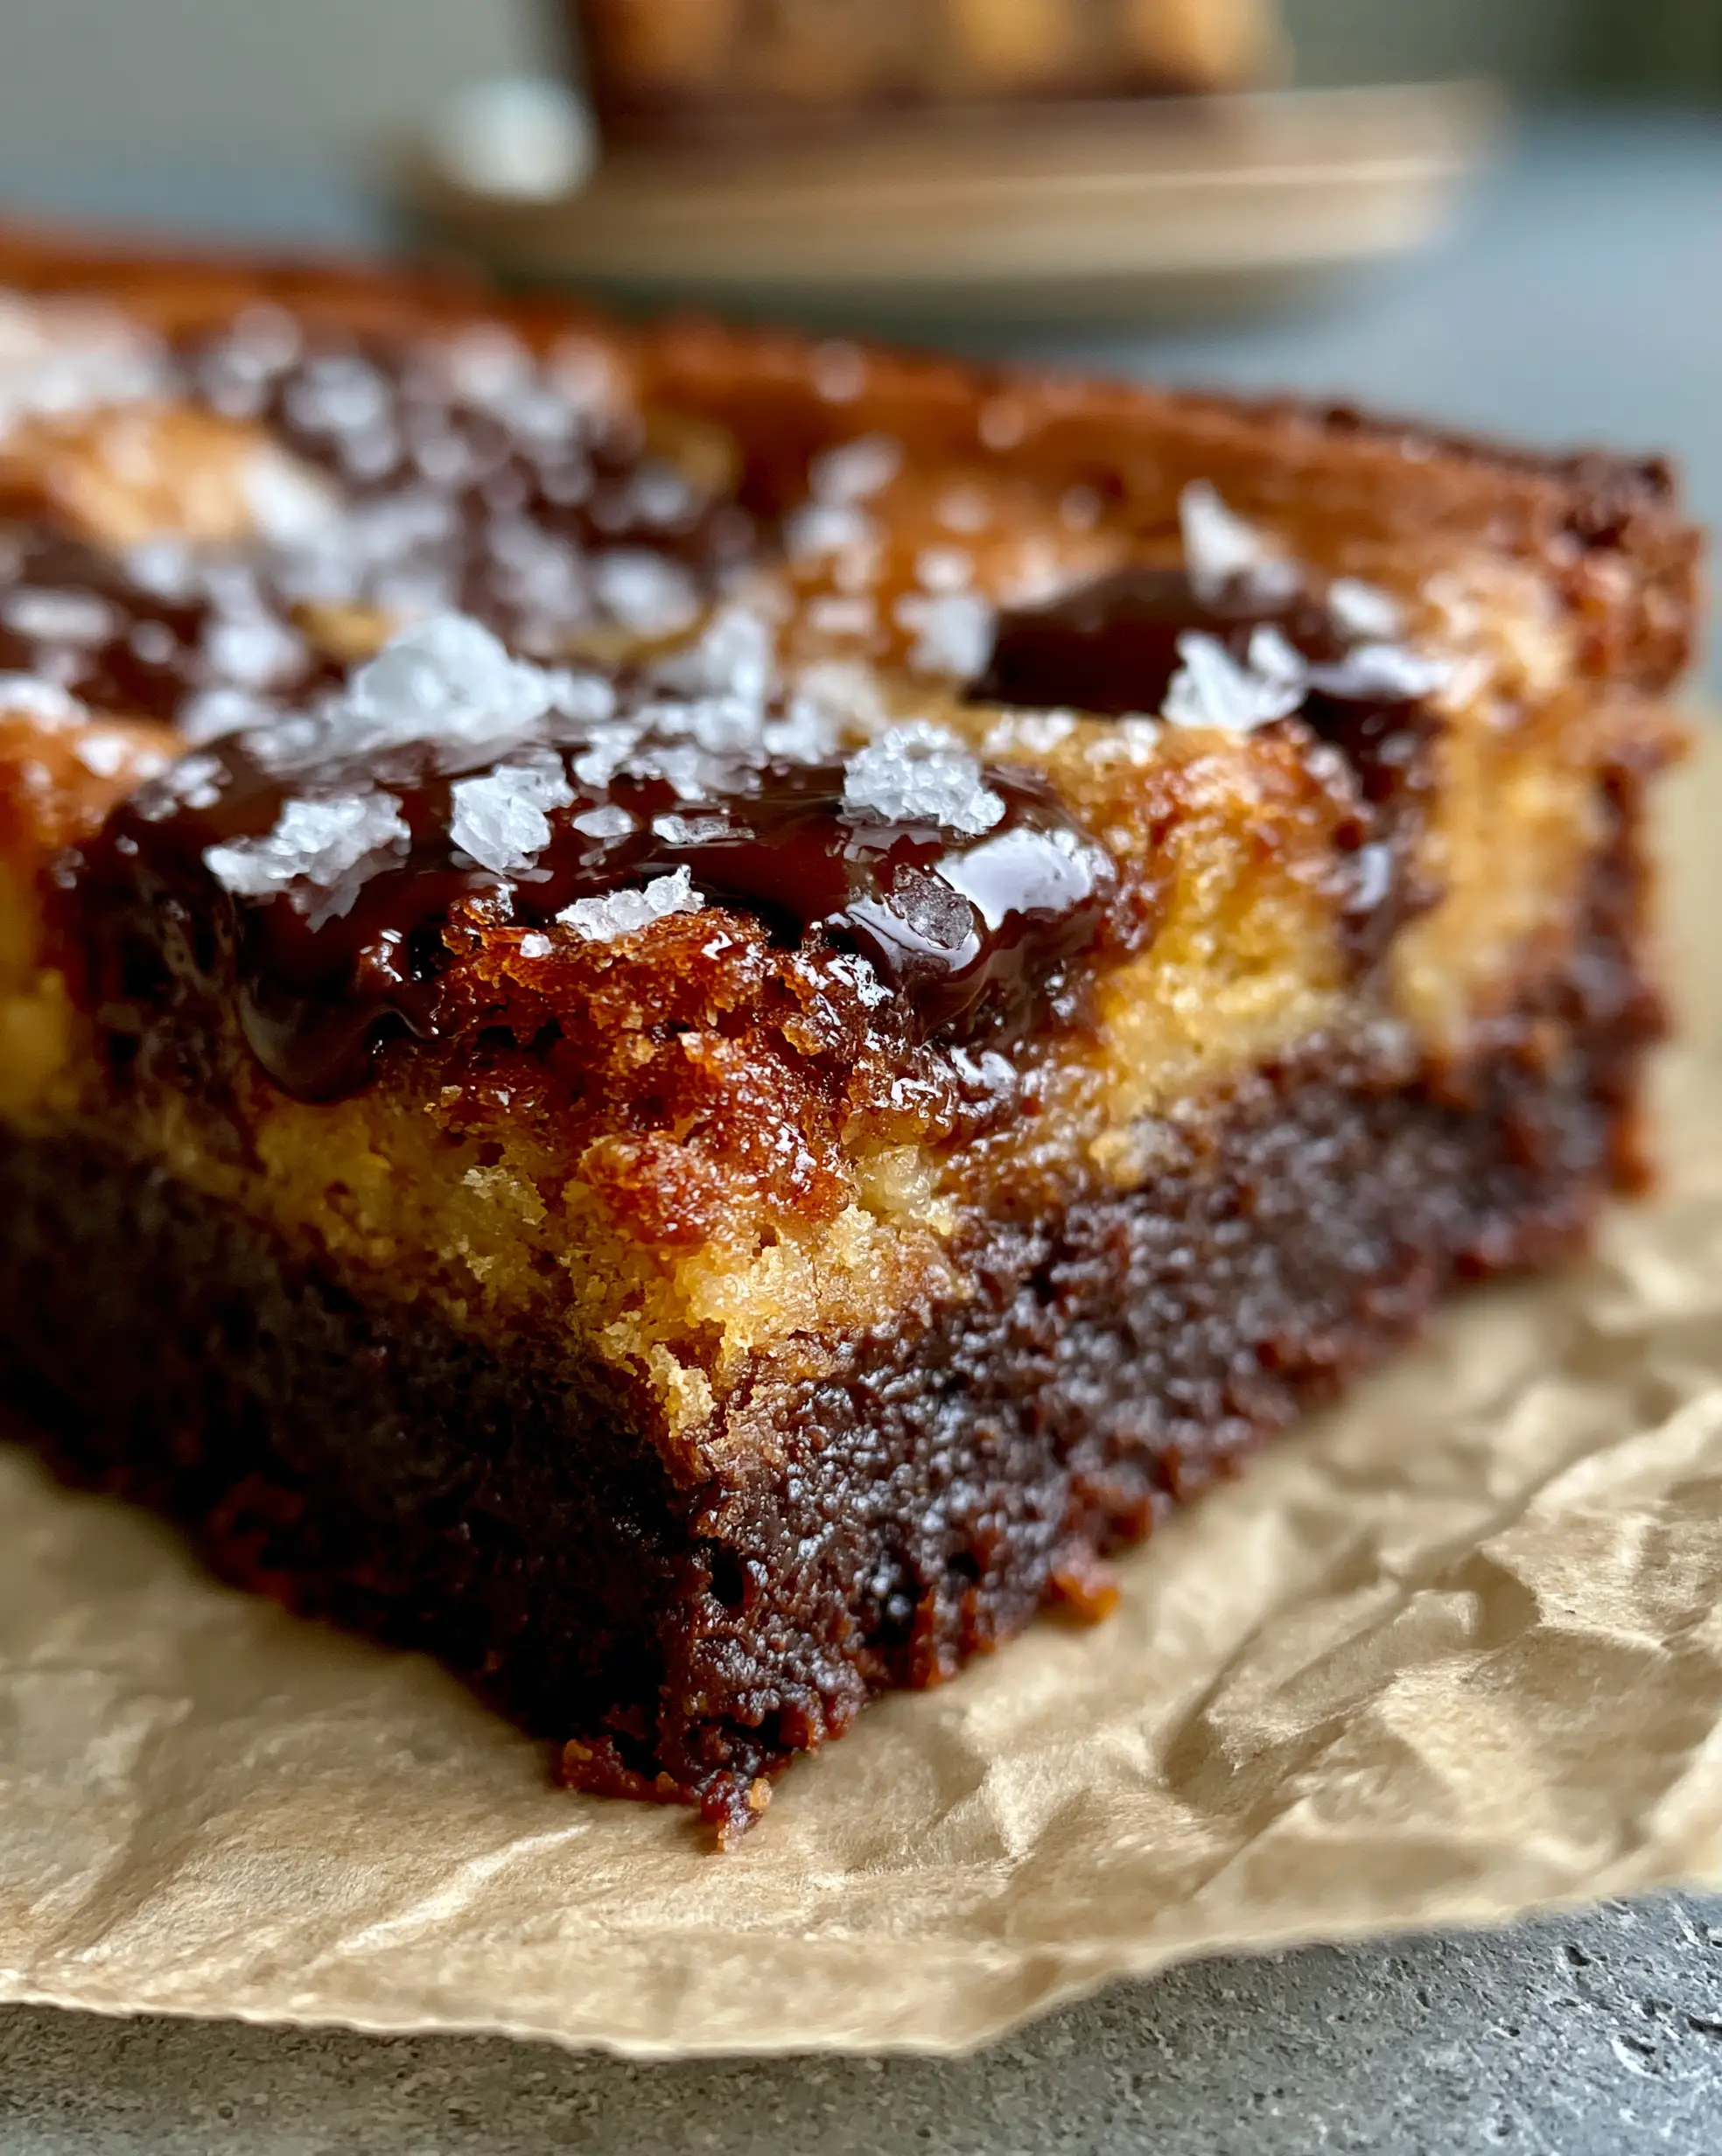
When you pull these bars out of the oven, you’ll immediately notice the hallmark of a professional bake: defined dual-layers. The top is dotted with melted dark chocolate pools that catch the light, while the bottom remains heavy and moist. Whether you are prepping for a high-end gathering or just looking for the ultimate weekend project, these bars are the definitive answer to your cravings.
Why You Will Obsess Over These Dual-Layer Bars
- The Brown Butter Factor: Toasting the butter adds a complex, nutty aroma that elevates the sweetness of the cookie dough to a sophisticated, toffee-like level.
- Textural Contrast: You get the “snap” and chew of a caramelized cookie edge paired with the “melt-in-your-mouth” density of a flourless-style brownie.
- Visual Gourmet Finish: Large flaky sea salt crystals and hand-placed chocolate chunks create those iconic dark chocolate puddles seen in professional food photography.
- Party-Ready Portability: These bars hold their shape perfectly, making them an elite addition to your labor day party food lineup.
Essential Components for the Fudgy Dark Chocolate Base
To achieve the ultra-fudgy texture seen in our visual blueprint, we rely on high-quality fats and a specific cocoa-to-sugar ratio. This isn’t a cakey brownie; it is intentionally heavy and rich.
Unsalted Butter (1/2 cup / 113g): This provides the fat needed for a tender crumb and carries the flavor of the dark chocolate throughout the base layer.
Dark Chocolate Chips or Chunks (3/4 cup / 135g): We melt these into the butter to ensure the brownie has a “truffle-like” consistency rather than a dry, cocoa-only finish.
Granulated Sugar (1 cup / 200g): Sugar does more than sweeten; it breaks down the protein in the eggs to create that iconic shiny, crackly brownie skin.
Large Eggs (2): These act as the primary binder, providing structure and that necessary “fudge” factor without the need for chemical leaveners.
Dutch-Processed Cocoa Powder (1/2 cup / 45g): This type of cocoa is treated with alkali, resulting in a darker color and a smoother, more intense chocolate flavor that anchors the bottom layer.
All-Purpose Flour (1/2 cup / 65g): We keep the flour measurement low to prevent the brownies from becoming “bready” or cake-like.
Foundations for the Caramelized Brown Butter Cookie Top
The top layer of these brown butter brookies relies on the Maillard reaction—the chemical process that gives caramelized food its distinctive savory-sweet flavor.
Browned Butter (1/2 cup / 113g): By simmering the butter until the milk solids turn golden brown, we infuse the cookie layer with a deep, toasted scent.
Brown Sugar (3/4 cup / 150g): The molasses in brown sugar is essential for achieving the chewy texture and golden-brown hue of the top layer.
Baking Soda (1/2 tsp / 3g): This encourages browning and provides just enough lift to create a distinct separation from the brownie layer.
Dark Chocolate Chunks (1 cup / 175g): Using large chunks instead of standard chips allows for the formation of those “chocolate puddles” that stay melty even after cooling.
Flaky Sea Salt (to taste): Large crystals like Maldon are crucial for cutting through the richness and highlighting the dark chocolate notes.
Professional Tools for Baking Success
To replicate the extreme close-up visual of a perfectly sliced brookie, you need the right gear. A 8×8 inch (20×20 cm) square metal baking pan is superior to glass for achieving sharp, clean edges and even heat distribution. You will also need heavy-duty parchment paper; this allows you to lift the entire block of brookies out of the pan for those clean, “sliced bar” photos. A light-colored saucepan is recommended for browning the butter so you can accurately monitor the color change of the milk solids.
Step-by-Step Evolution of a Brookie
Step 1: Achieving the Golden Brown Butter
Place your butter in a small saucepan over medium heat. Melt the butter, then continue cooking while whisking constantly. You will hear it sizzle and pop, then it will foam up. Once the foam subsides, look for little brown specks at the bottom and a nutty aroma. Immediately remove from heat and transfer to a heat-proof bowl to stop the cooking process.
Step 2: Constructing the Fudgy Brownie Base
In a microwave-safe bowl, melt your butter and dark chocolate together until smooth. Whisk in the sugar vigorously—this is the secret to a glossy top. Add the eggs one at a time, beating well after each addition. Gently fold in the cocoa powder, flour, and salt until just combined. Pour this thick, dark batter into your lined pan and spread it into an even, dense layer.
Step 3: Preparing the Caramelized Cookie Layer
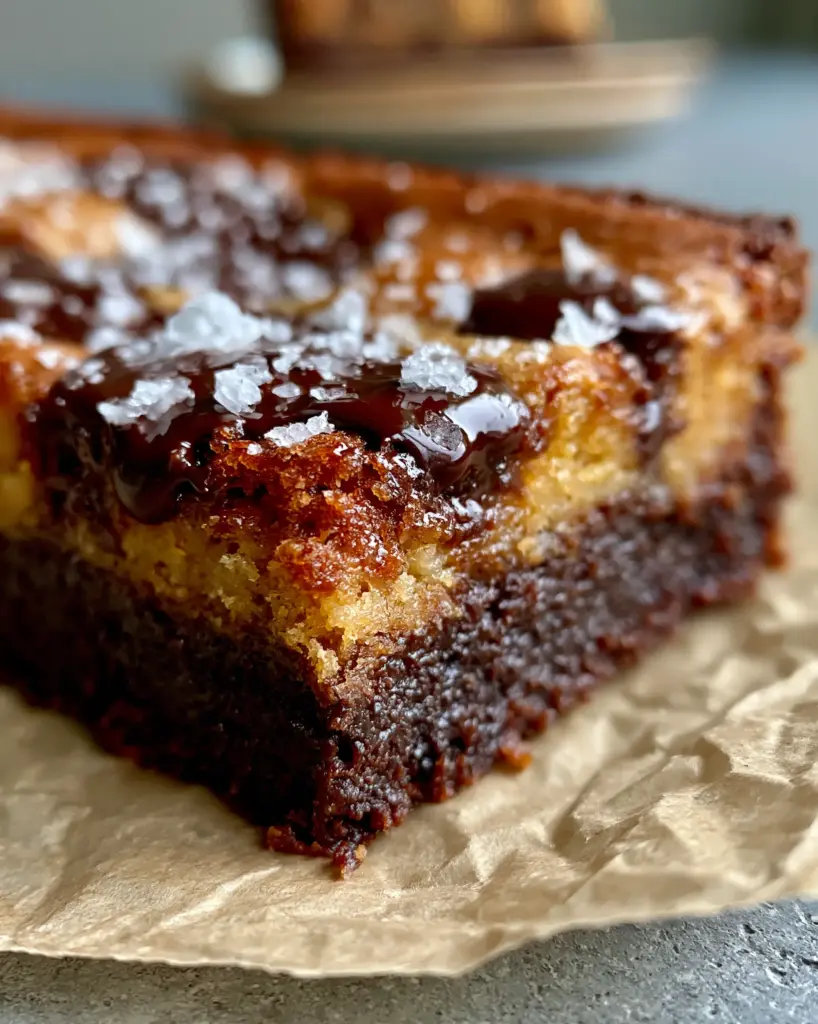
In a separate bowl, cream your cooled browned butter with the brown and white sugars. Add the egg and vanilla, mixing until the batter looks pale and fluffy. Stir in the flour and baking soda. Finally, fold in half of your chocolate chunks. Instead of spreading this like a frosting, drop spoonfuls of the dough over the brownie base. Gently press them down to create a “marbled” but distinct top layer.
Step 4: The Finishing Visual Touches
Before sliding the pan into the oven, take the remaining chocolate chunks and press them into the surface of the cookie dough. This ensures they sit on top to form the “melted dark chocolate pools” seen in the visual blueprint. Bake at 350°F (175°C) for 30-35 minutes. You are looking for a golden-brown surface on the cookie and a slight “wobble” in the center for maximum fudginess.
Step 5: The Cooling and Salting Ritual
As soon as the pan comes out of the oven, sprinkle a generous amount of flaky sea salt over the molten chocolate puddles. The heat will help the salt adhere. Allow the bars to cool completely in the pan. If you cut them too early, the layers will bleed together. For the cleanest slices, refrigerate for one hour before lifting the parchment paper and slicing with a sharp chef’s knife.
Expert Tips for the Ultimate Texture
- Don’t Overmix the Flour: Once you add the dry ingredients to either layer, stop mixing as soon as the white streaks disappear to keep the bars tender.
- The “Pan Bang” Technique: Halfway through baking the brown butter brookies, lift the pan and gently drop it against the oven rack. This deflates air bubbles and creates those ripples in the cookie top.
- Quality of Chocolate: Use a chocolate bar with at least 60% cocoa solids and chop it yourself for the most dramatic “pools.”
- Temperature Control: Ensure your eggs are at room temperature so they emulsify properly with the fats, leading to a smoother batter.
Flavor Pairings and Serving Suggestions
These rich bars are heavy hitters on their own, but they pair beautifully with contrasting flavors. If you want to lean into the fruitiness of dark chocolate, serve them alongside a bowl of fresh berries drizzled with a homemade strawberry sauce recipe. For a truly decadent afternoon treat, pair a warm brookie with a glass of iced coffee topped with lavender cold foam for a floral, sophisticated balance. If you’re a fan of citrus contrasts, you might also enjoy the brightness of lemon blueberry cookies as a secondary dessert option.
Storing and Reheating Your Brookies
Store your brown butter brookies in an airtight container at room temperature for up to 4 days. If you prefer them “ultra-fudgy,” keep them in the refrigerator. To regain that “fresh from the oven” feel, microwave a single bar for 10-15 seconds until the chocolate puddles begin to glisten. These also freeze beautifully; wrap individual slices in plastic wrap and freeze for up to 3 months.
Frequently Asked Questions
Yes! Wrap individual bars tightly in plastic wrap and store in a freezer bag for up to 3 months. Thaw at room temperature or warm slightly in the microwave for a fresh-baked taste.
While possible, you will miss the nutty depth and caramelized edges provided by the homemade brown butter dough. Store-bought dough also tends to spread differently, potentially blurring the dual-layer effect.
Don’t mix all your chocolate chunks into the dough. Reserve a handful and press them manually into the top of the cookie layer just before baking so they melt into open ‘pools’.
The brownie base uses a low flour-to-fat ratio and incorporates melted dark chocolate rather than just cocoa powder, resulting in a truffle-like density rather than a cakey texture.
Brookies need to cool completely to set the fats in the brown butter and chocolate. For the cleanest slices, refrigerate the bars for at least one hour before cutting with a sharp knife.
Brown Butter Brookies Recipe Card
Brown Butter Brookies: The Ultimate Fudgy Dark Chocolate Hybrid
Ingredients
Equipment
Method
- Melt 1/2 cup butter in a saucepan over medium heat, whisking until it smells nutty and golden specks appear. Remove and cool.
- Whisk melted butter, chocolate, sugar, and eggs. Fold in cocoa and flour. Spread into a lined 8x8 pan.
- Cream browned butter and sugars. Add egg and vanilla. Fold in dry ingredients and chocolate chunks.
- Drop spoonfuls of cookie dough over brownie base. Press extra chunks on top. Bake at 350°F (175°C) for 35 mins.
Notes
Refrigerate for one hour for the cleanest cuts.
Join the Baking Community!
These brown butter brookies are the ultimate reward for any home baker. They combine the best of both worlds into a single, salty-sweet bite that is impossible to resist. If you made this recipe, please leave a comment below and let us know how your layers turned out! Don’t forget to snap a photo and tag us, or save this recipe to your favorite dessert board on Pinterest so you never lose it.


