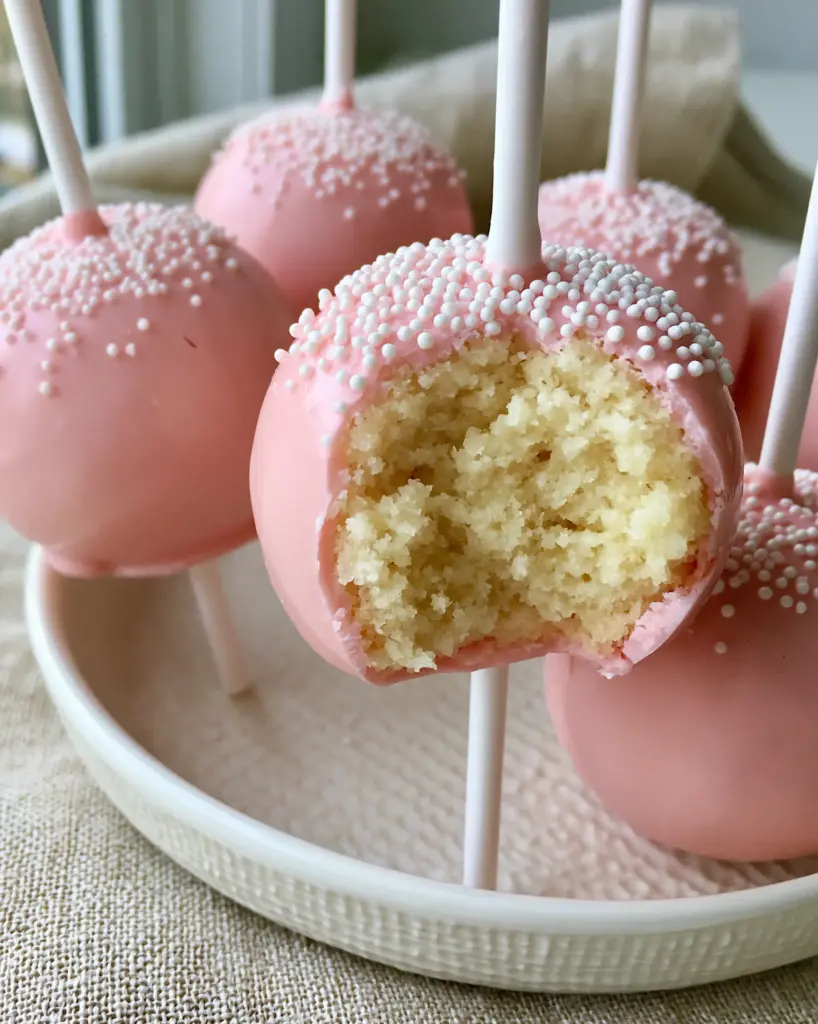
There is something undeniably nostalgic about holding a perfectly round, candy-coated treat on a stick. These cake pop recipes are designed to recreate that iconic coffee-shop experience right in your own kitchen, featuring a dense, moist interior and a signature “snap” from the outer shell.
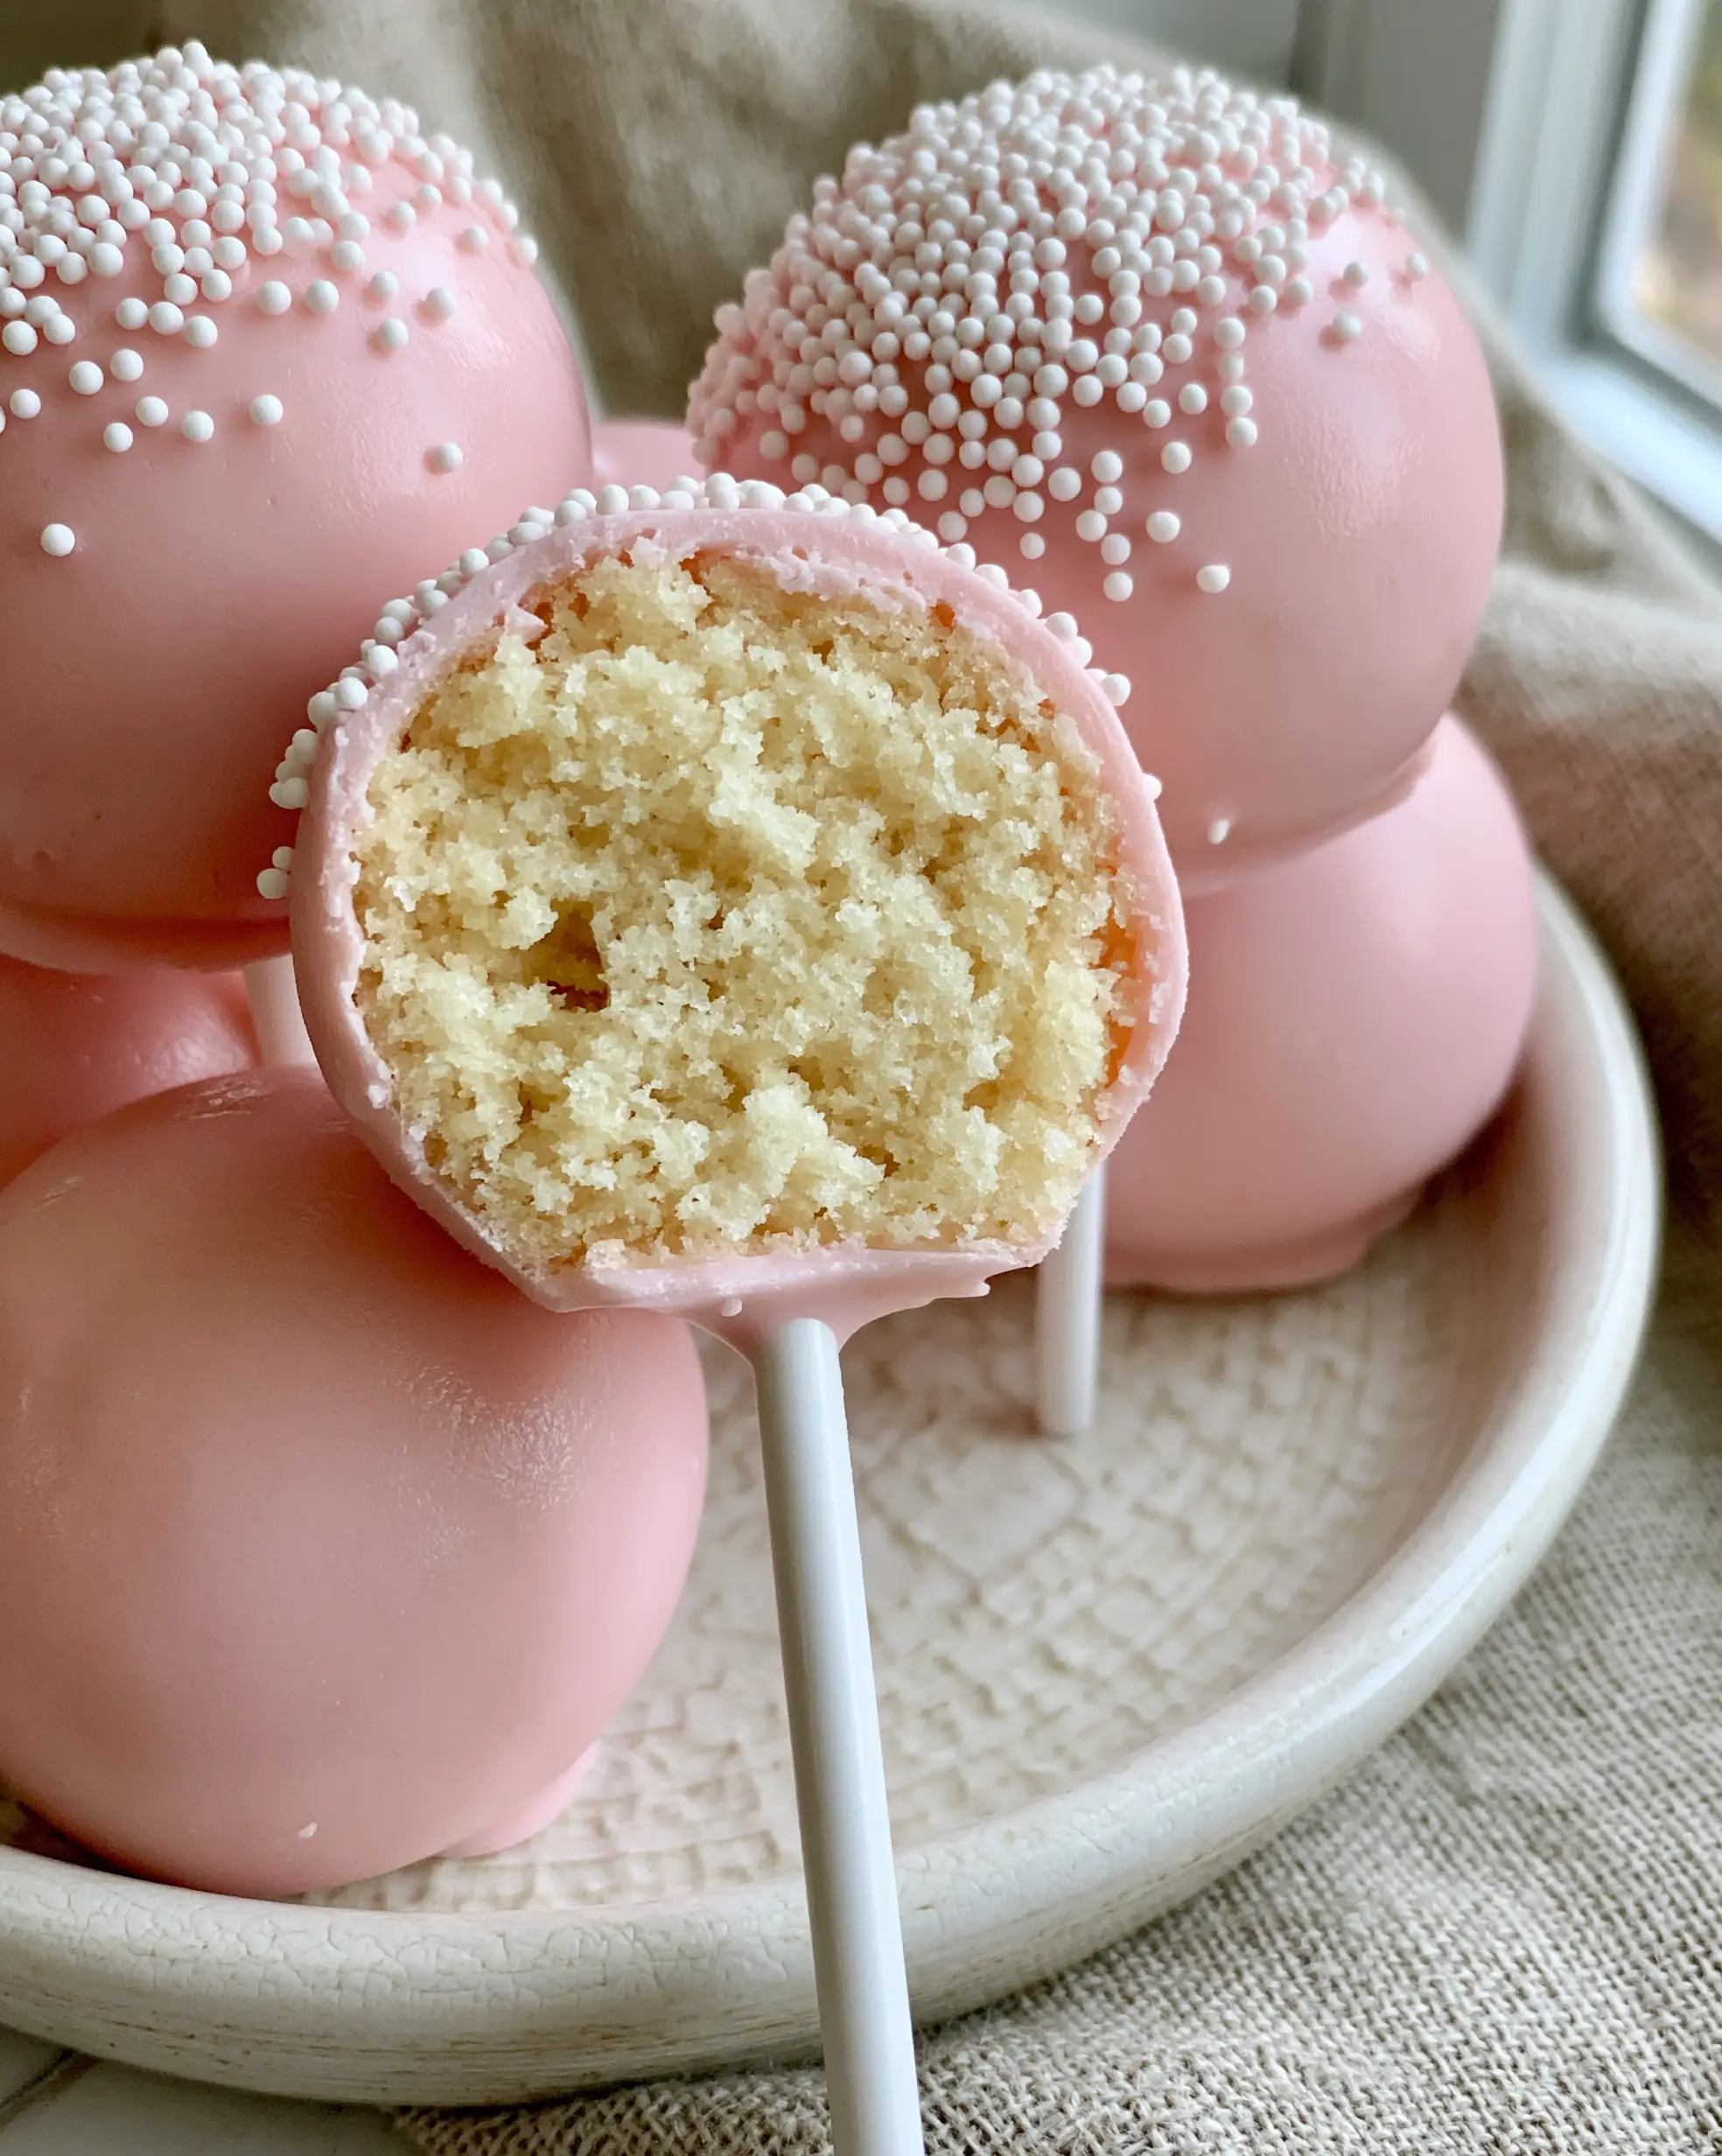
While many versions of this dessert turn out mushy or overly sweet, our forensic approach to the vanilla crumb ensures a texture that is tender yet structurally sound. This recipe focuses on the balance between a pale-yellow vanilla sponge and a vibrant pink candy coating that looks as professional as it tastes.
Whether you are preparing for a themed party or simply craving a bite-sized indulgence, mastering the art of the dip and the sprinkle is key. Let’s dive into the science of the perfect pink cake pop.
Why These Are the Best Cake Pop Recipes You Will Ever Try
- Perfectly Dense Crumb: We use a specific ratio of cake-to-frosting to ensure a moist, fudgy interior that isn’t greasy.
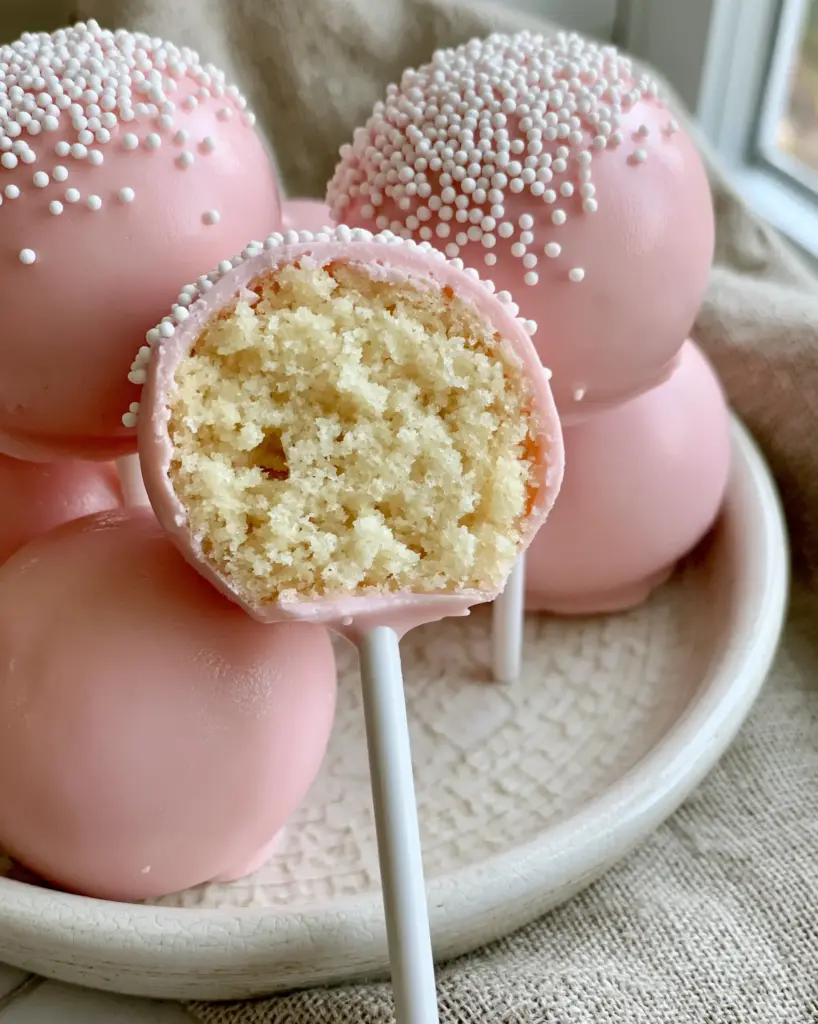
- Glossy Professional Finish: The candy shell is thin, perfectly smooth, and free of the common cracks found in amateur bakes.
- High-Contrast Visuals: The stark white nonpareil sprinkles against the pastel pink coating create a stunning, photo-ready aesthetic.
- Reliable Dipping Method: Our technique prevents the common “sliding off the stick” disaster that plagues many cake pop recipes.
The Essential Components for a Copycat Pink Result
To achieve the visual and textural perfection seen in high-end bakeries, every ingredient must serve a specific culinary purpose. We aren’t just making cake; we are engineering a stable, handheld dessert.
The Foundational Vanilla Sponge
1 ¾ cups (210g) Cake Flour: Unlike all-purpose flour, cake flour has a lower protein content, which is essential for that “pale-yellow” tender crumb. It prevents the interior from becoming too bready or tough.
1 cup (200g) Granulated Sugar: This provides the necessary sweetness while helping to aerate the butter during the creaming process for a light but dense structure.
½ cup (115g) Unsalted Butter, softened: High-quality butter provides the fat needed for a moist mouthfeel. It also acts as the primary flavor carrier for the vanilla.
2 Large Egg Yolks: Using extra yolks instead of whole eggs enhances the “pale-yellow” color of the interior and adds a rich, custard-like density to the crumb.
2 tsp (10ml) Vanilla Bean Paste: This offers a deeper flavor than extract and adds microscopic dark flecks that signal a premium, high-quality cake interior.
The Structural Binding & Coating
¼ cup (60g) Vanilla Buttercream: This acts as the “glue.” We use just enough to hold the crumbs together without making the center feel like raw dough.
12 oz (340g) Pink Candy Melts: These are formulated to melt smoothly and set firmly, providing that glossy, crack-free pastel pink shell.
2 tsp (10ml) Coconut Oil or Paramount Crystals: This is a secret “invisible” ingredient. It thins the candy coating, allowing it to flow over the cake ball for a thin, professional finish.
2 tbsp (30g) White Nonpareil Sprinkles: These tiny sugar beads provide the classic texture and high-contrast visual required for the “copycat” look.
20-24 White Lollipop Sticks: Standard 6-inch white sticks provide the clean, minimalist base for our pops.
Equipment Required for Professional Results
Achieving a perfectly smooth finish requires more than just a bowl and spoon. You will need a 9×9 inch (23x23cm) baking pan to bake the base cake and a large mixing bowl for crumbing.
A 1-tablespoon cookie scoop is vital for ensuring every cake pop is identical in size. For the dipping process, use a deep, narrow microwave-safe glass or silicone cup, which allows for full submersion without using excessive amounts of candy coating.
Finally, a cake pop stand or a block of styrofoam is necessary to hold the pops upright while they set. If they touch a flat surface while wet, you will lose that perfectly spherical shape.
The Step-by-Step Science of the Perfect Cake Pop
Baking the Velvet Vanilla Base
Preheat your oven to 350°F (175°C). Cream the butter and sugar until the mixture is pale and fluffy, which usually takes about 3-4 minutes of high-speed mixing.
Slowly incorporate the egg yolks and vanilla bean paste. Sift in the cake flour, salt, and baking powder, alternating with a splash of milk. Bake for 25-30 minutes or until a toothpick comes out with just a few moist crumbs attached.
Crucially, allow the cake to cool completely. A warm cake will melt the buttercream, resulting in a greasy, unstable interior that will fall off the stick.
The Art of the “Clean Bite” Crumb
Once cooled, trim off any browned edges or “crust” from the cake. You only want the pale-yellow interior for the most authentic visual result.
Crumble the cake into a large bowl until it looks like fine sand. Add the vanilla buttercream one tablespoon at a time. Mix with your hands until the dough holds together when squeezed, similar to the texture of play-dough.
Roll the mixture into 1.25-inch balls. Place them on a parchment-lined tray and chill in the refrigerator for at least 2 hours. Do not freeze them; an ice-cold cake ball will cause the warm candy coating to crack instantly.
Achieving the Glossy Pink Shell
Melt the pink candy wafers with the coconut oil in 30-second intervals, stirring vigorously in between. The coating should be the consistency of heavy cream and run off the spoon in a continuous ribbon.
Dip the tip of a white lollipop stick about ½ inch into the melted candy, then insert it halfway into a chilled cake ball. This “welds” the stick to the cake. Let these set for 5 minutes before the full dip.
Submerge the cake ball completely in the pink coating in one single motion. Pull it straight out and gently tap your wrist to remove the excess. While the coating is still wet, add a neat dusting of white nonpareils to the top.
Expert Tips for Success
- Avoid the “Oily Leak”: If your cake balls are sweating oil, you have added too much frosting. Aim for a “dense and moist” texture, not a “wet” one.
- Temperature Control: Ensure your melted coating is warm but not hot, and your cake balls are slightly chilled but not frozen. This 20-degree difference is the secret to a crack-free shell.
- Thin the Coating: If the pink candy is too thick, it will pull the cake ball off the stick. Add more coconut oil 1/2 teaspoon at a time until it is fluid.
- The Wrist Tap: Never shake the cake pop to remove excess coating. Use a steady “tap-tap” on your wrist to vibrate the excess off gently.
Storage and Shelf Life
Cake pop recipes are excellent for making ahead of time. These will stay fresh in an airtight container at room temperature for up to 3 days, or in the refrigerator for up to a week.
If you are planning a large event, you can freeze the undipped cake balls for up to 3 months. However, once they are coated in candy, freezing is not recommended as the coating may lose its gloss and develop condensation “beads” upon thawing.
What to Serve With These Pink Treats
These pops are a standout dessert on their own, but they also pair beautifully with other small-format bakes. If you are hosting a party, consider serving them alongside birthday cake cookies for a variety of textures.
For a complete dessert table, these complement the flavors of a chocolate oreo cake or even a tray of rice krispie treats. If you want to lean into the pink theme, serve them with a refreshing glass of dragon fruit lemonade.
Frequently Asked Questions
Yes, but for the specific ‘copycat’ pale-yellow dense crumb, a scratch-made cake using cake flour and extra egg yolks provides a much better structural result.
Add a small amount of coconut oil or paramount crystals to your melted candy wafers. This thins the consistency, allowing it to flow evenly over the cake ball.
You can make them up to 3 days in advance if kept at room temperature, or 7 days in the fridge. They are perfect for party prep!
Cracking is caused by a temperature shock between cold cake balls and hot candy coating. Ensure your cake balls are only slightly chilled and your coating is warm, not piping hot.
This usually happens if the cake ball is too heavy, the frosting ratio is too high, or you didn’t ‘weld’ the stick with a bit of candy coating before the full dip.
The Ultimate Copycat Pink Cake Pop Recipe
Cake Pop Recipes: The Ultimate Copycat Pink Vanilla Cake Pops
Ingredients
Equipment
Method
- Cream the softened butter and granulated sugar until light and fluffy. Add egg yolks and vanilla bean paste, mixing until fully incorporated.
- Sift in dry ingredients and bake at 350°F (175°C) for 25-30 minutes. Allow to cool completely to room temperature before crumbing.
- Finely crumble the cake into a bowl. Mix in the vanilla buttercream until the mixture holds its shape. Roll into 1.25-inch spheres.
- Refrigerate the cake balls for 2 hours. This ensures they are firm enough to hold the stick without falling apart.
- Melt pink candy wafers with coconut oil until smooth and fluid. Dip the tip of the stick in candy and insert into the cake ball.
- Submerge the entire ball into the pink coating. Tap off excess and immediately top with white nonpareil sprinkles.
Notes
Ensure cake balls are chilled but not frozen to prevent the shell from cracking.
Closing & Call to Action
Mastering these cake pop recipes is a rite of passage for any home baker. The combination of the dense vanilla interior and that perfectly smooth pink shell creates a sensory experience that is far superior to store-bought versions.
If you enjoyed this forensic look at the perfect cake pop, please leave a comment below! We love seeing your creations. Don’t forget to save this recipe to your dessert boards on Pinterest so you can find it for your next celebration.


