There is something inherently magical about a perfectly round, bite-sized treat that hides a vibrant surprise inside. These Birthday Cake Pops are not your average bakery-style pops; they are a culinary masterclass in texture and visual appeal, designed to stop scrolls on social media and delight guests at any celebration. Imagine holding a sleek, white lollipop stick topped with a perfectly smooth, glossy pastel pink globe, only to take a bite and reveal a dense, moist, and shockingly vibrant pink vanilla cake center.
Achieving that professional, crack-free finish requires a blend of precise temperature control and high-quality ingredients. Whether you are preparing these for a themed party or simply want to master the art of the perfect dip, this guide will walk you through every scientific nuance. From the foundational crumb structure to the final scatter of rainbow nonpareil sprinkles, every detail is engineered for gourmet results.
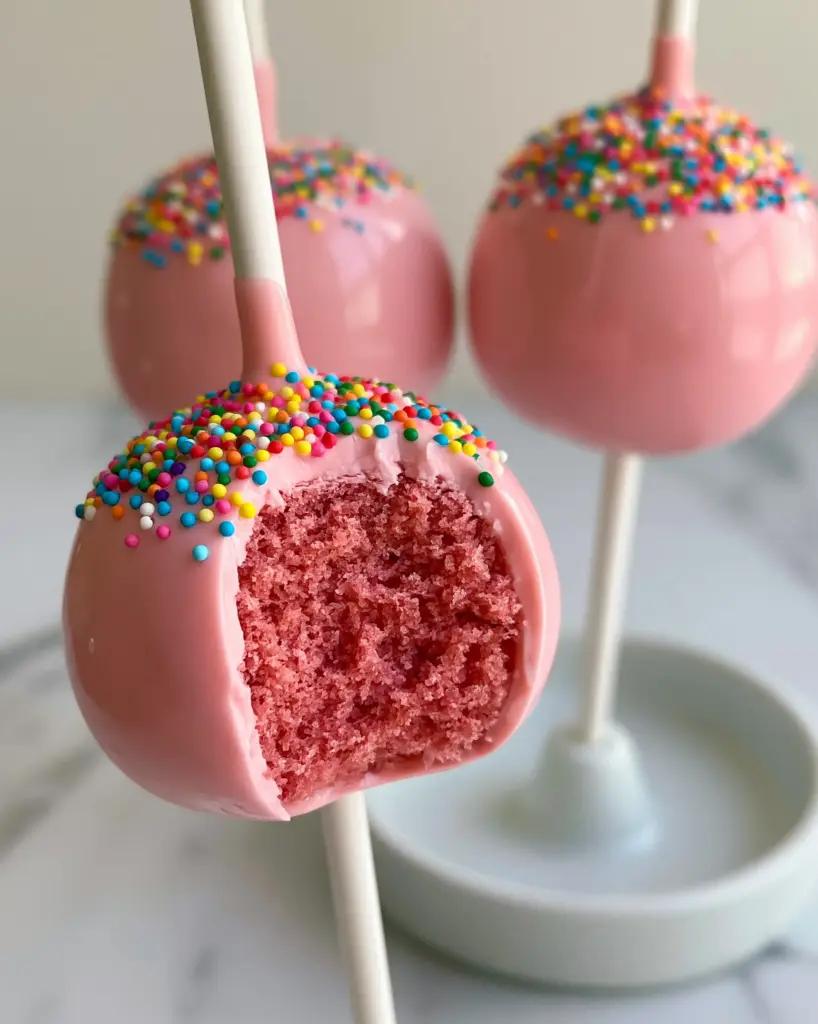
Why You Will Love These Gourmet Pink Cake Pops
- The Reveal: A vibrant, moist pink vanilla center that provides a stunning visual contrast against the pastel shell.
- Glossy Perfection: A candy coating technique that ensures a smooth, reflective, and crack-free finish every single time.
- Perfect Snap: The delicate crunch of the rainbow nonpareil sprinkles against the soft, dense cake interior.
- Professional Stability: Designed to stay firmly on their white lollipop sticks without sliding or crumbling.
Essential Elements for Your Gourmet Pink Cake Pops
To achieve the specific visual results described in our blueprint, you need more than just “cake and frosting.” You need a scientific approach to moisture and color.
Cake Flour: 1 & 1/2 cups (190g). Cake flour has a lower protein content than all-purpose flour, ensuring the pink cake center is tender and dense rather than bready.
Unsalted Butter (Room Temp): 1/2 cup (115g). High-quality butter provides the fat necessary to keep the crumb moist even after it has been crumbled and reconstructed.
Granulated Sugar: 1 cup (200g). Sugar does more than sweeten; it helps retain moisture within the cake cells, preventing a dry or sandy texture.
Pink Gel Food Coloring: 1/2 tsp (2.5ml). Gel is superior to liquid coloring because it provides a “vibrant pink” hue without altering the hydration levels of the batter.
Whole Milk: 1/2 cup (120ml). Milk provides the liquid required to activate the leavening agents while adding a richness that complements the vanilla profile.
Vanilla Bean Paste: 1 tbsp (15ml). Using paste instead of extract provides those beautiful tiny black flecks and a deeper, more professional flavor profile.
Pastel Pink Candy Melts: 24 oz (680g). These are the secret to that “glossy pastel pink candy shell” that mimics the look of tempered chocolate without the instability.
Paramount Crystals or Coconut Oil: 2 tbsp (30ml). Essential for thinning the candy melts to a dipping consistency that is “perfectly smooth and crack-free.”
Rainbow Nonpareil Sprinkles: 1/4 cup (40g). These tiny, colorful spheres add the classic “birthday” aesthetic and a necessary textural pop.
White Lollipop Sticks: 24 sticks. Standard 6-inch sticks provide the structural support and the clean, minimalist look required for the display.
The Professional Tool Kit for Success
You cannot achieve a minimalist, gourmet look with makeshift tools. To match our visual prompt—where pops are held upright in a white ceramic stand—you need the right equipment.
- 6-inch (15cm) Cake Pan: Baking in a smaller pan ensures the cake doesn’t develop too much “crust,” which can lead to lumps in your cake pop centers.
- Electric Stand Mixer: Necessary for the creaming method, ensuring the butter and sugar are aerated for a “moist, dense” crumb.
- Fine Mesh Sieve: For sifting the flour to ensure there are no pockets of dry ingredients in the pink center.
- Deep, Narrow Dipping Container: A glass measuring cup or silicone “candy melting” cup allows you to submerge the pop entirely in one motion.
- White Ceramic Cake Pop Stand: To maintain the “glossy texture” while the shells set without developing flat spots.
The Step-by-Step Path to a Crack-Free Pastel Finish
Crafting the Vibrant Pink Cake Base
Preheat your oven to 350°F (175°C). In your stand mixer, cream the butter and sugar for at least 3-5 minutes until the mixture is pale and fluffy. This aeration is the secret to a cake that is dense but not heavy.
Add your eggs one at a time, followed by the vanilla bean paste and the pink gel coloring. Watch as the batter transforms into a “vibrant pink” hue; adjust the coloring until it is one shade darker than your desired final result, as it will lighten slightly during baking.
Alternate adding your sifted dry ingredients and milk. Bake for 25-30 minutes or until a toothpick comes out clean. Allow the cake to cool completely. Any residual heat will melt the frosting in the next step, ruining the structural integrity of your Birthday Cake Pops.
The Art of the Moist, Dense Crumb
Once cooled, trim away any browned edges of the cake. You only want the “vibrant pink” interior for your pops. Crumble the cake into a large bowl until it resembles fine sand. There should be no large chunks.
Add 2-3 tablespoons (30-45ml) of vanilla frosting. Mix with your hands until the dough holds together when squeezed, resembling the texture of playdough. If the mixture is too dry, it will crumble off the stick; if it’s too wet, it will be “mushy.” We are aiming for the “moist, dense” center seen in the prompt.
Roll the mixture into 1.5-inch (4cm) spheres, ensuring they are perfectly smooth. Chill these on a parchment-lined tray for at least 1 hour. Chilling is non-negotiable for the dipping stage.
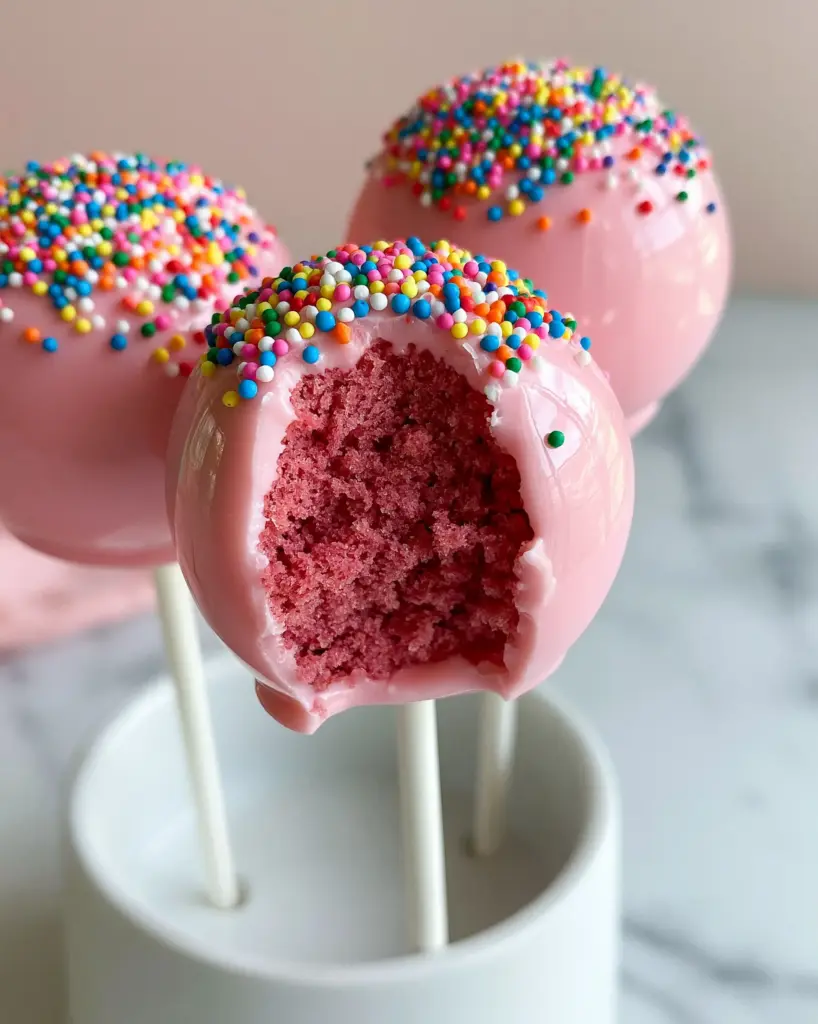
Achieving the Perfect Glossy Pastel Dip
Melt your pastel pink candy melts in 30-second intervals, stirring vigorously between each. Once melted, stir in your paramount crystals or coconut oil. The consistency should be like warm maple syrup—thin enough to run off a spoon easily.
Dip the tip of a white lollipop stick into the melted candy, then insert it halfway into a chilled cake ball. This acts as “culinary glue.” Let these set for 5 minutes before the full dip.
Submerge the cake pop vertically into the coating until it reaches the stick. Do not stir. Pull it straight up and gently tap your wrist—not the stick—to allow excess coating to drip off. This “tapping” method ensures the “perfectly smooth, glossy” finish without air bubbles.
The Final Decorative Flourish
While the coating is still wet, “beautifully scatter” the rainbow nonpareil sprinkles across the top. If the coating starts to set, the sprinkles won’t stick; if it’s too wet, they will slide down the sides. Timing is everything.
Place the pops upright in your white ceramic stand. Allow them to set at room temperature for 20 minutes. Avoid the refrigerator at this stage, as the temperature shock can cause the “pastel pink candy shell” to crack.
Expert Strategies for Gourmet Results
- Temperature Syncing: Ensure your cake balls are chilled but not frozen. Dipping a frozen cake ball into warm candy is the #1 cause of cracked shells.
- The “Skin” Check: If your candy coating is too thick, it will pull the cake ball off the stick. Always thin it until it flows effortlessly.
- Sifting the Crumb: For the most professional look, some chefs pulse their cake crumbs in a food processor to ensure the “moist pink vanilla cake center” is perfectly uniform.
- Bubble Trouble: If you see an air bubble in your coating, use a toothpick to pop it immediately before the candy sets.
Storage and Freshness Guidelines
Birthday Cake Pops are surprisingly resilient. They can be stored in an airtight container at room temperature for up to 3 days. The candy shell acts as a vacuum seal, keeping the pink center moist and fresh.
For longer storage, refrigerate for up to a week, but be aware that condensation may form on the glossy shell when brought back to room temperature. To freeze, wrap each pop individually in plastic wrap and store in a freezer bag for up to 3 months. Thaw in the refrigerator before serving.
What to Serve with Your Birthday Treats
These pops are a standout dessert, but they pair beautifully with other celebratory treats. If you are building a full dessert table, consider adding some chewy birthday cake cookies to mirror the flavor profile.
For a drink pairing, the vibrant pink interior of these pops looks stunning alongside a glass of bright dragon fruit lemonade. If you’re looking for more inspiration for your next event, check out our favorite party planning ideas or explore other unique cake pop recipes to expand your repertoire.
Common Questions About Gourmet Cake Pops
Yes! You can make the cake and roll the balls up to 2 days in advance. Once dipped, they stay fresh at room temperature for 3 days or in the fridge for a week.
The secret is thinning the candy melts with paramount crystals or coconut oil. You want a consistency that flows easily. Also, use the ‘tapping’ method on your wrist to level the coating perfectly.
Always use gel-based food coloring. Liquid coloring can change the moisture balance of the cake batter, whereas gel provides a concentrated, vibrant hue without affecting the texture.
This happens if the cake balls are too heavy, too warm, or if there isn’t enough ‘glue.’ Always dip the stick in melted candy before inserting it into the cake ball and let it set before the final dip.
Cracking usually happens due to temperature shock. If the cake balls are too cold (frozen) and the candy coating is too warm, the cake expands as it warms up, cracking the shell. Ensure cake balls are chilled but not frozen.
The Ultimate Birthday Cake Pops Recipe
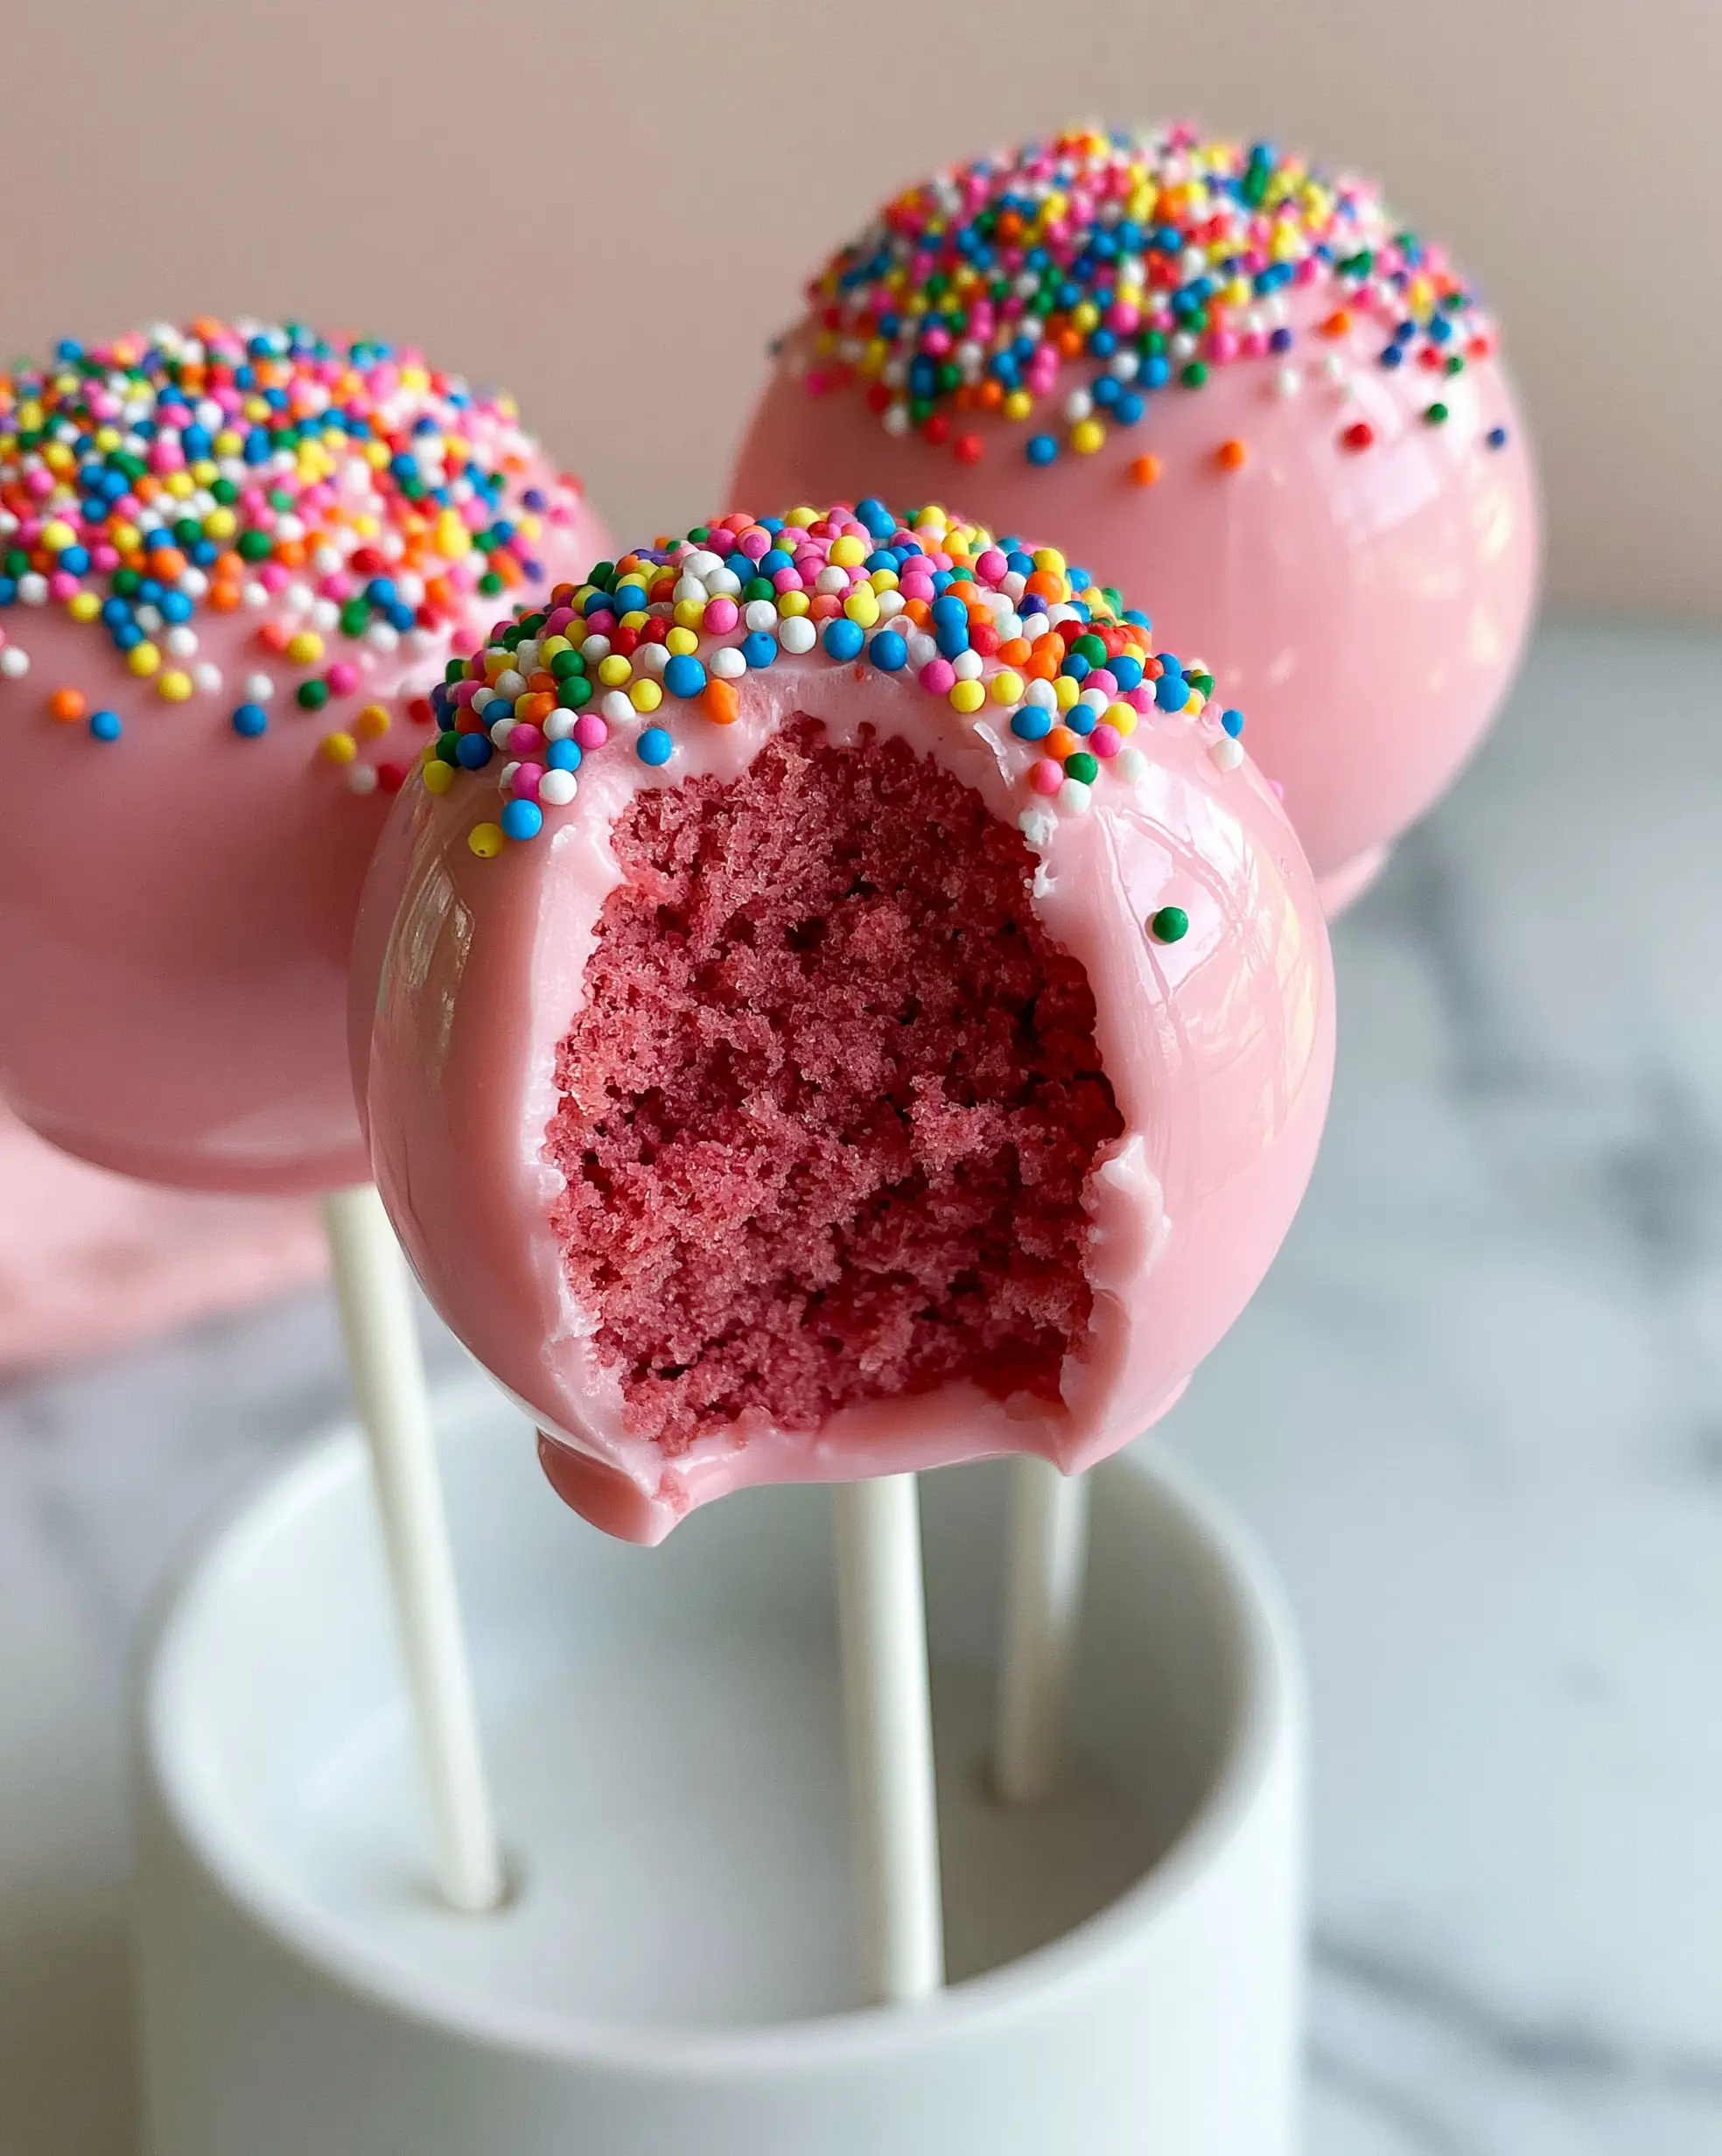
Birthday Cake Pops with a Glossy Pastel Shell and Vibrant Pink Center
Ingredients
Equipment
Method
- Cream butter and sugar, add eggs and pink gel coloring, then alternate dry ingredients and milk. Bake at 350°F (175°C) for 30 minutes until a moist pink crumb is formed.
- Crumble the cooled cake and mix with vanilla frosting until a dense dough forms. Roll into 1.5-inch spheres and chill for 1 hour.
- Melt candy melts with paramount crystals. Dip sticks into candy then into cake balls. Fully submerge the pops in the glossy pastel pink coating, tap off excess, and immediately top with rainbow nonpareils.
Notes
Thin the candy coating until it has a syrup-like consistency for the smoothest finish.
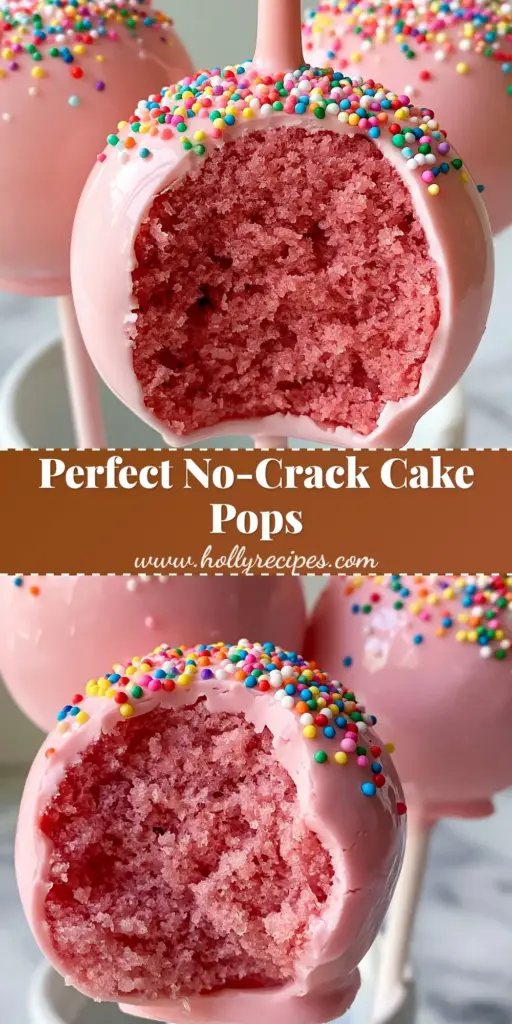
Creating these Birthday Cake Pops is an exercise in culinary precision, but the reward is a professional-grade treat that looks like it came from a high-end boutique. The combination of the glossy pastel exterior and the secret vibrant pink interior makes every bite a celebration. We hope this guide helps you master the technique and brings a touch of gourmet flair to your next event!
Did your pink centers turn out as vibrant as ours? We would love to see your creations! Share your photos and tag us, or pin this recipe to your favorite board on Pinterest so you never lose this guide. Don’t forget to leave a comment below with your favorite cake pop flavor combinations!


